|
Have you ever booked a session solely for you, to just enjoy having your picture taken? A moment to pamper yourself? Not enough people focus on themselves. It's always great to help others, look out for the ones you care for, even put yourself last but there comes a time when you have to put yourself first. You need to focus on loving yourself. Check out how this young woman did just that at her recent Sunflower Session at The Anderson's Sunflower Farm in Cumming, Georgia. This place is absolutely stunning and makes for such great scenery, but if you go make sure to bring the bug spray! 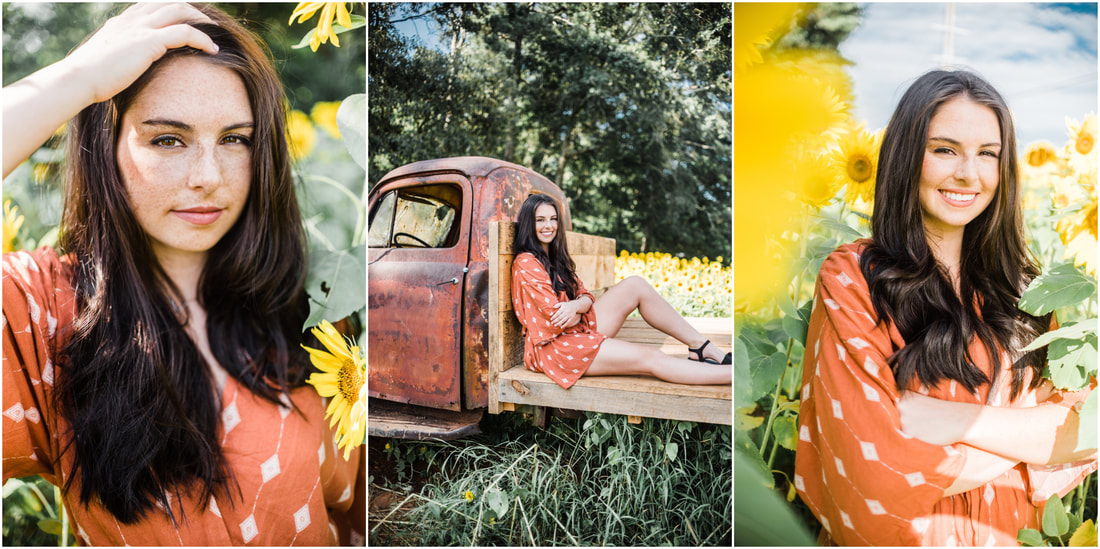 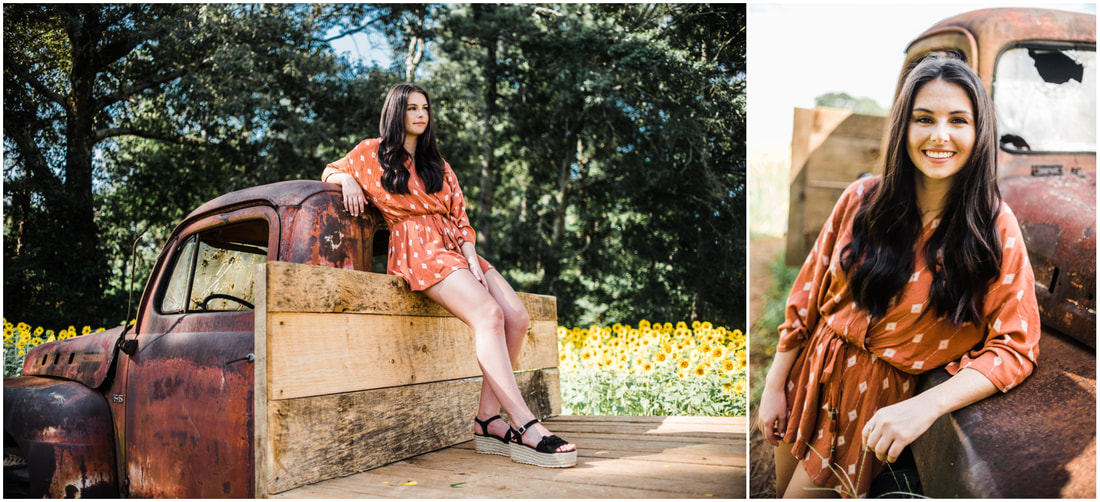 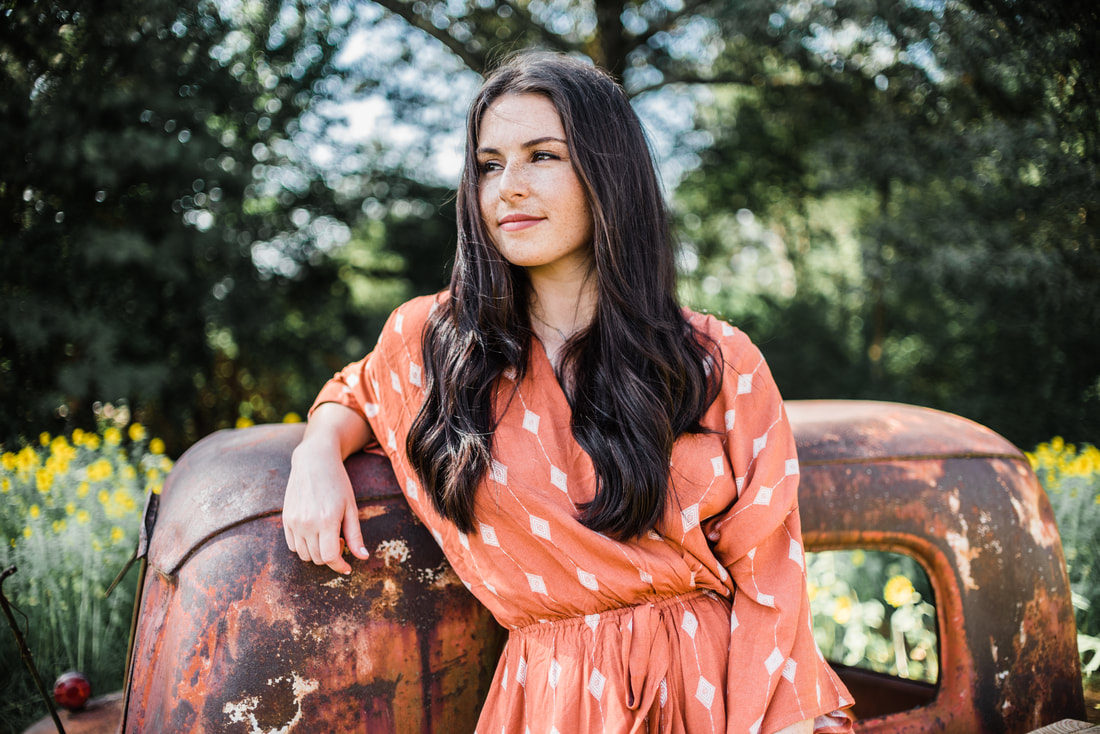 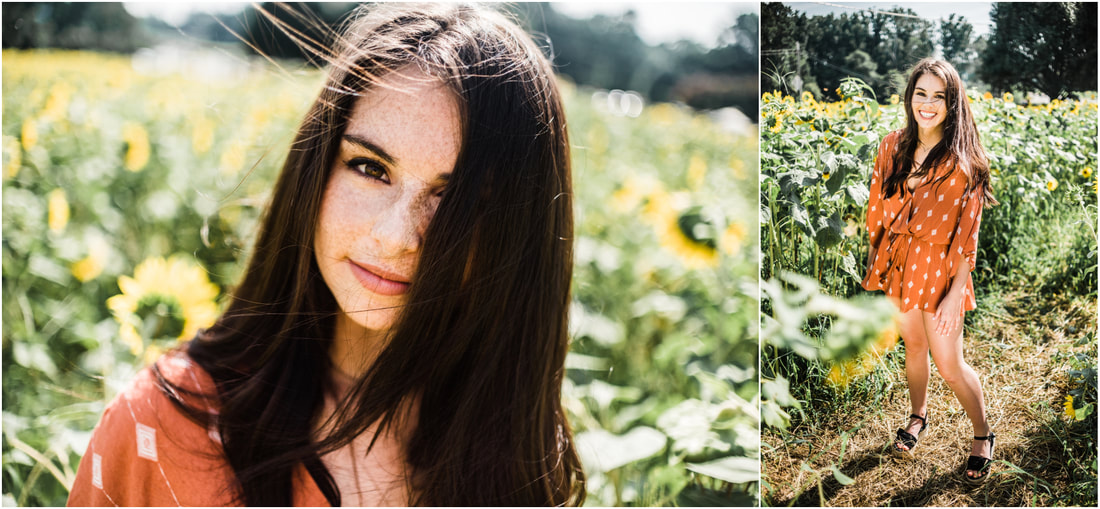 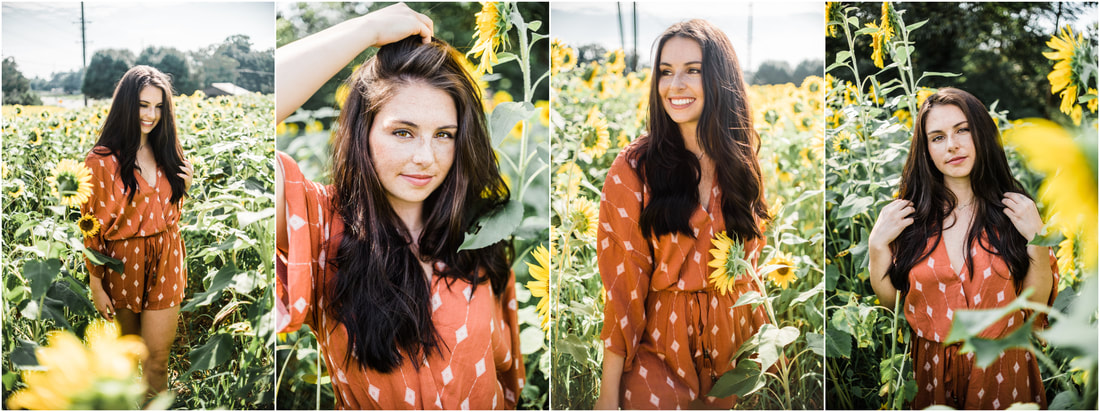
5 Comments
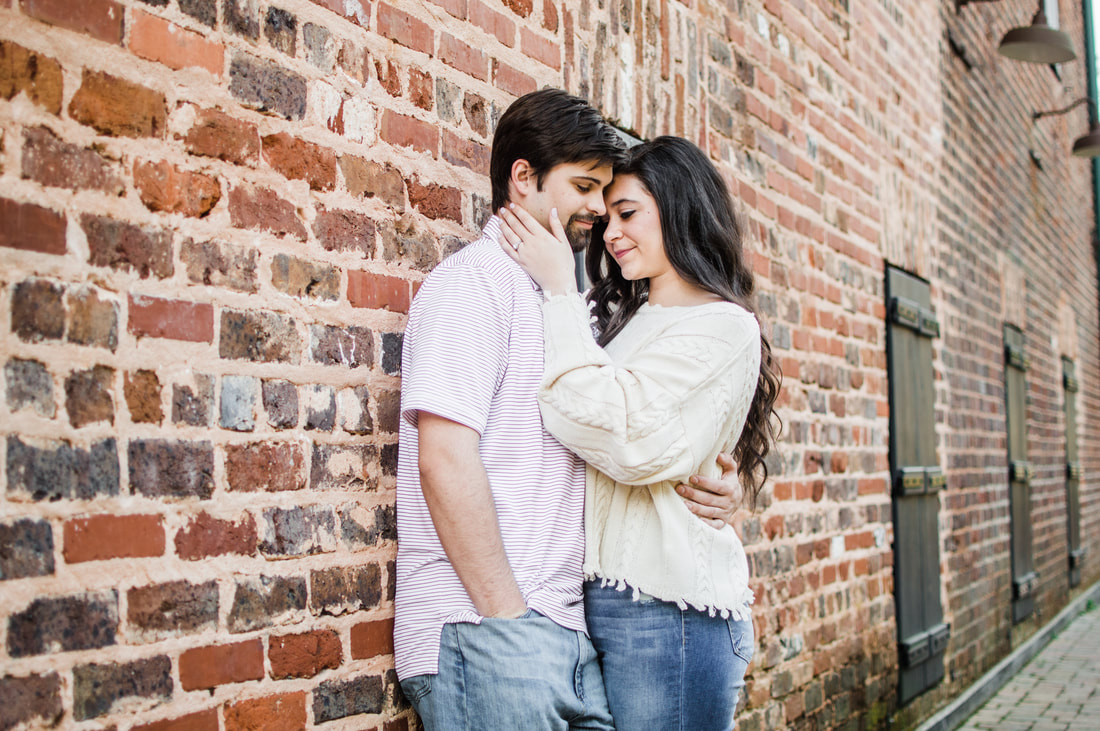
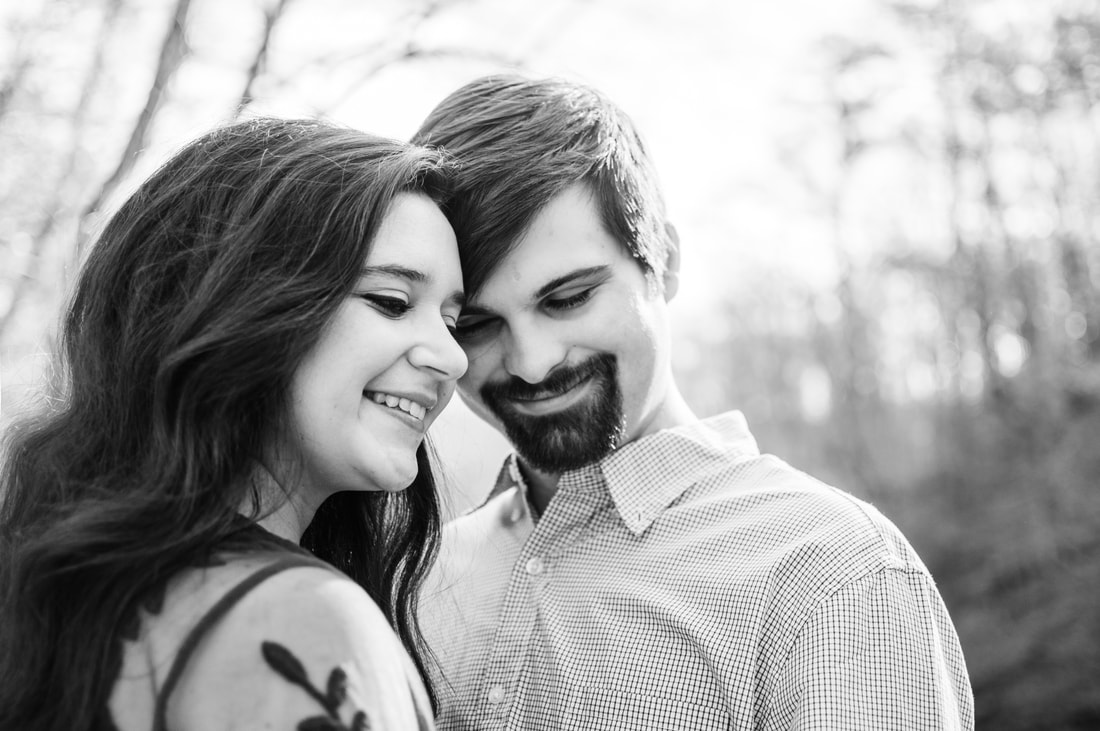
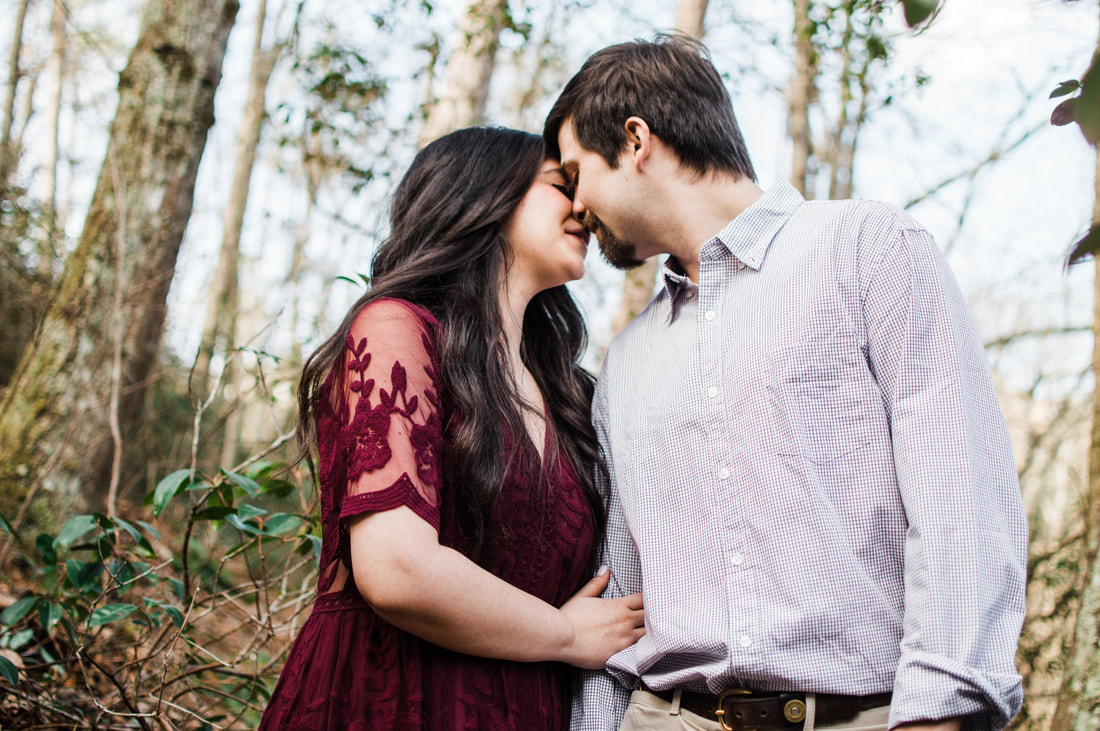
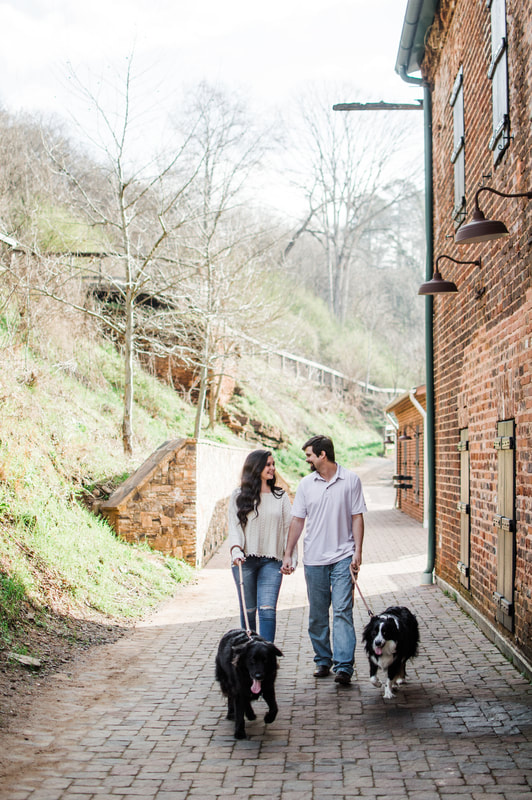
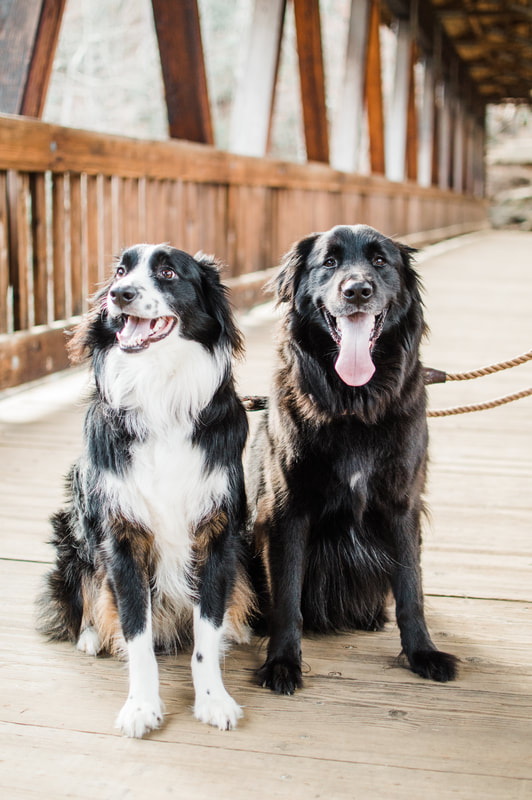
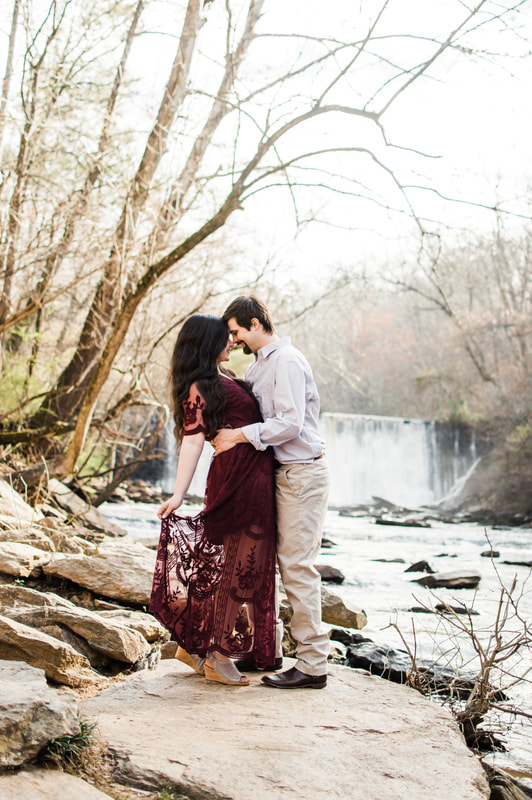
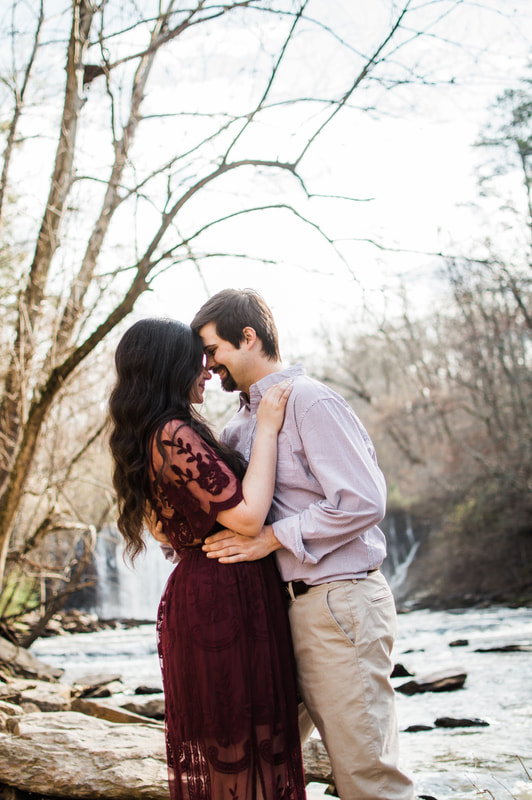
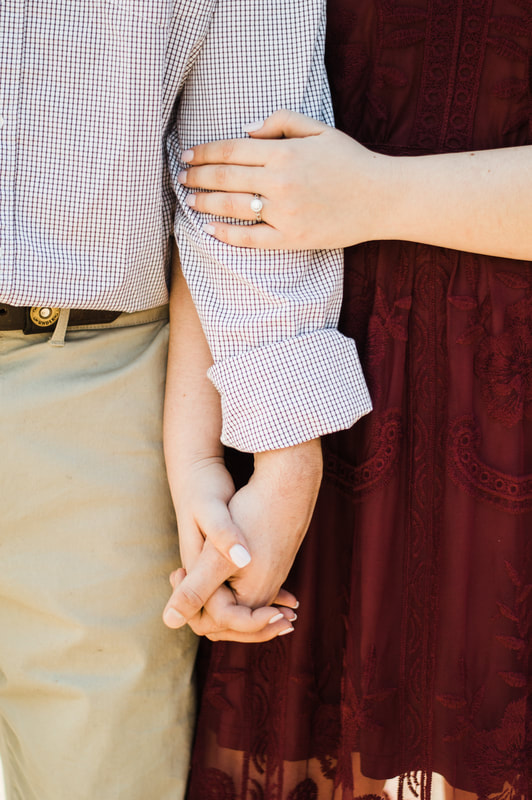
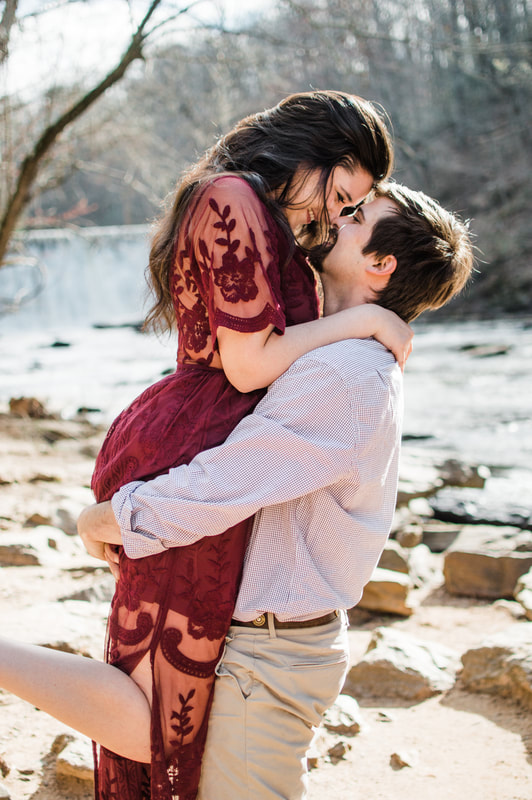
Jonathan and Megan are the sweet souls of this beautiful engagement session at Vickery Creek Falls Roswell Mill. The first time I met these two was with Megans family in December to go over wedding details for what is going to be a beautiful wedding in Destin, Florida this October. I absolutely cannot wait for their wedding on the Bay! Megans mom, Carmen, texted me a couple of weeks ago and let me know that Megan was recently diagnosed with MS (Multiple Sclerosis) and it made me even more excited for these engagement pictures because we both knew it would be a perfect day to take her mind off of everything that has been going on lately with her diagnosis. Megan is such an warm-hearted and positive woman and I know she is going to take on this diagnosis with the most uplifting attitude and it truly makes you realize how precious life is and how important it is to surround yourself with people who lift you up, care deeply for you and allow you to care deeply for them. I could truly see the passion and endearment between Jonathan and Megan at their engagement session and how sweetly he cares for her. They brought along their sweet puppers that complete their little family as we explored the park and took in the sunshine, which was a nice break in all this rain we have had lately! Check out all of their love and sweetness below.
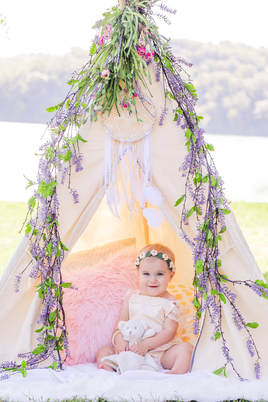
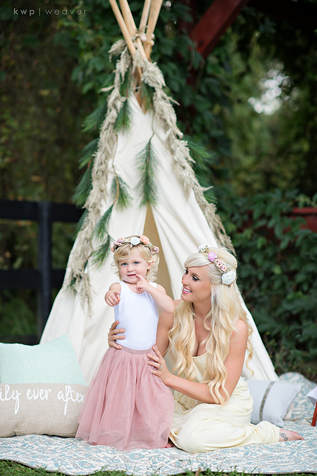
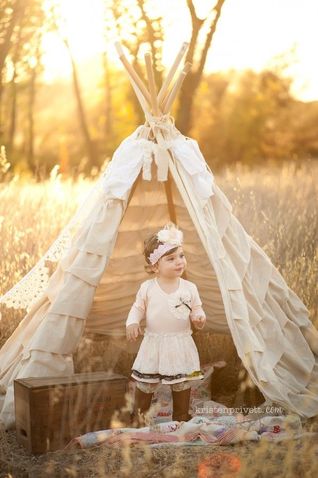
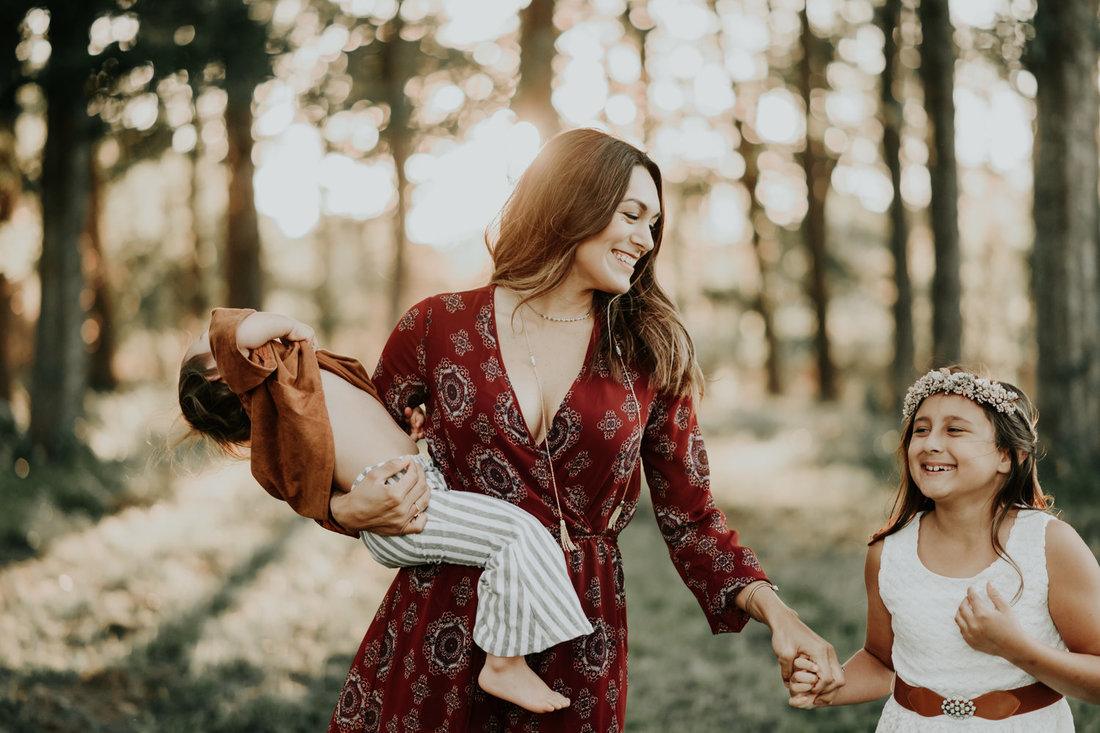
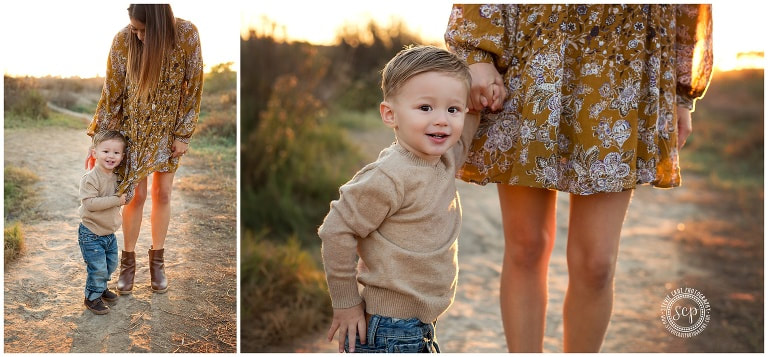
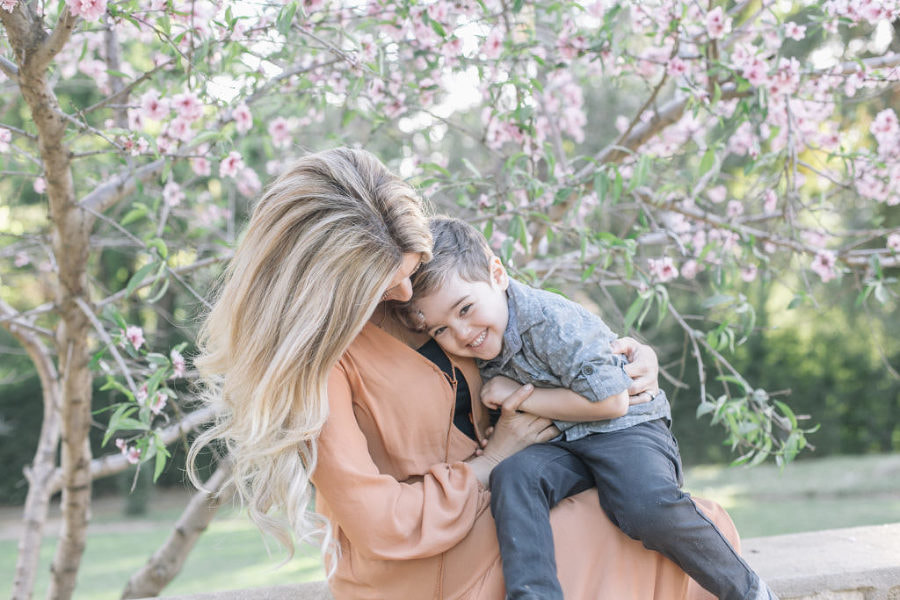
 If you haven't signed up for your spot in the Mommy & Me mini session you can do so here, you don't want to miss out on this amazing deal for only $100! I recently discovered these adorable lace and white tents that make for incredible backdrops for mini sessions so that is our theme we are going with for this mini session. A boho vibe that can be for boys or girls, you also do not have to use the teepee if you do not want to, there are other simple outdoor options available that are equally as beautiful! This session will take place in Alpharetta outside by my home. It will be positioned next to a lake with loads of gorgeous trees and green grass. You will get an address once I have received your confirmed inquiry and payment. Here is my inspiration for these sessions:
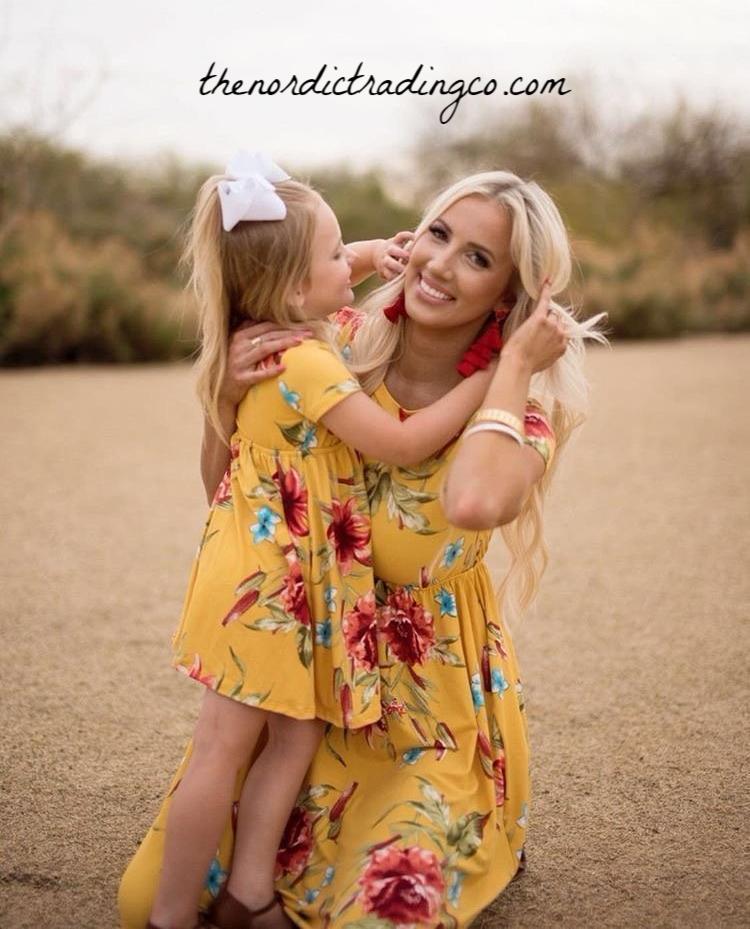
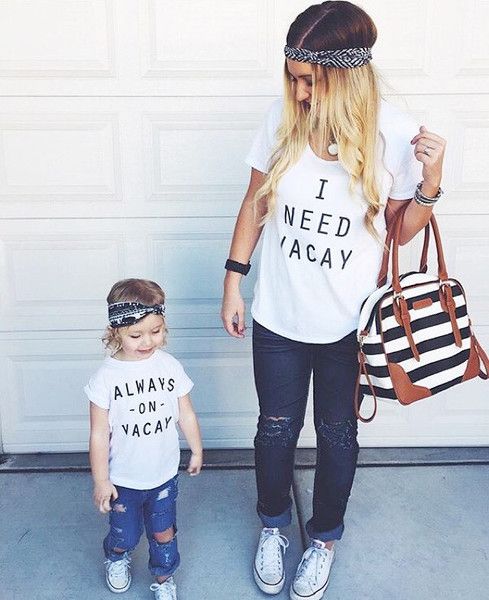
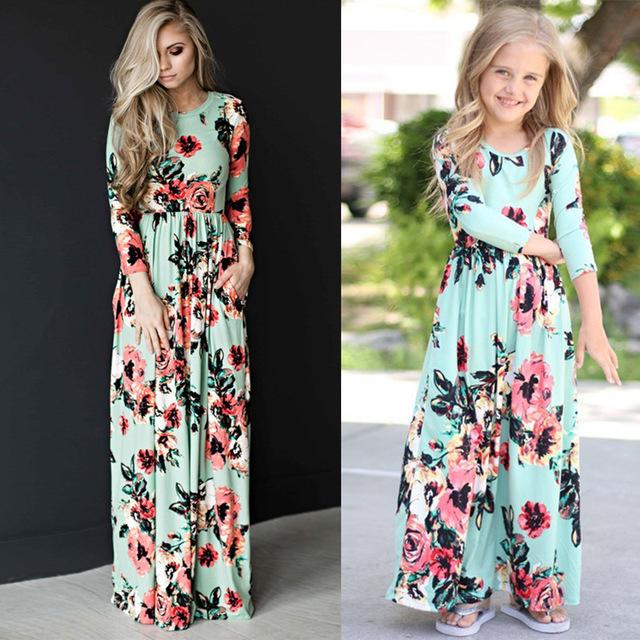
Something I love to inform my clients on is how to make their photo sessions the best they can be and that includes their wardrobe. I love when my clients showcase their personality and really give me a sense of what they are trying to portray in their new images. My main piece of advice is to not wear logos, no neon colors, and no busy prints that take away from your beautiful faces. If you need any advice or want to run something by me before your session please feel free to email me anytime at katie@katiecoon.com. Below are some images I pulled off google to show some of the vision I have in mind as just a guide to assist anyone struggling with what to wear.
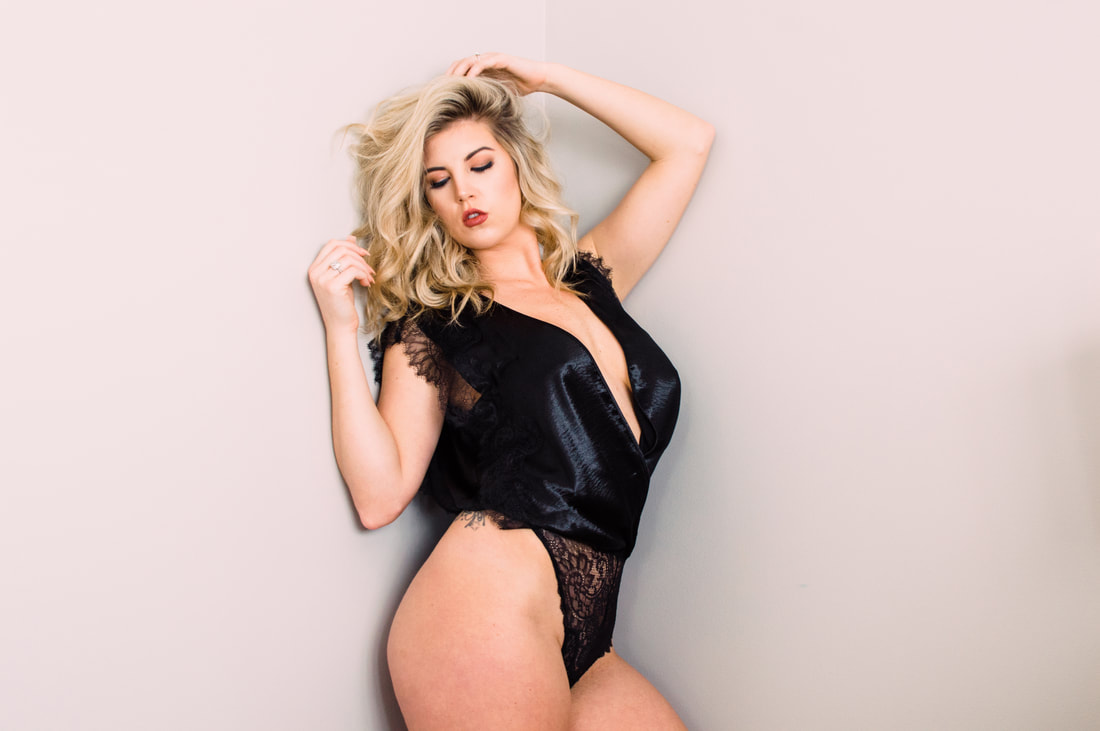
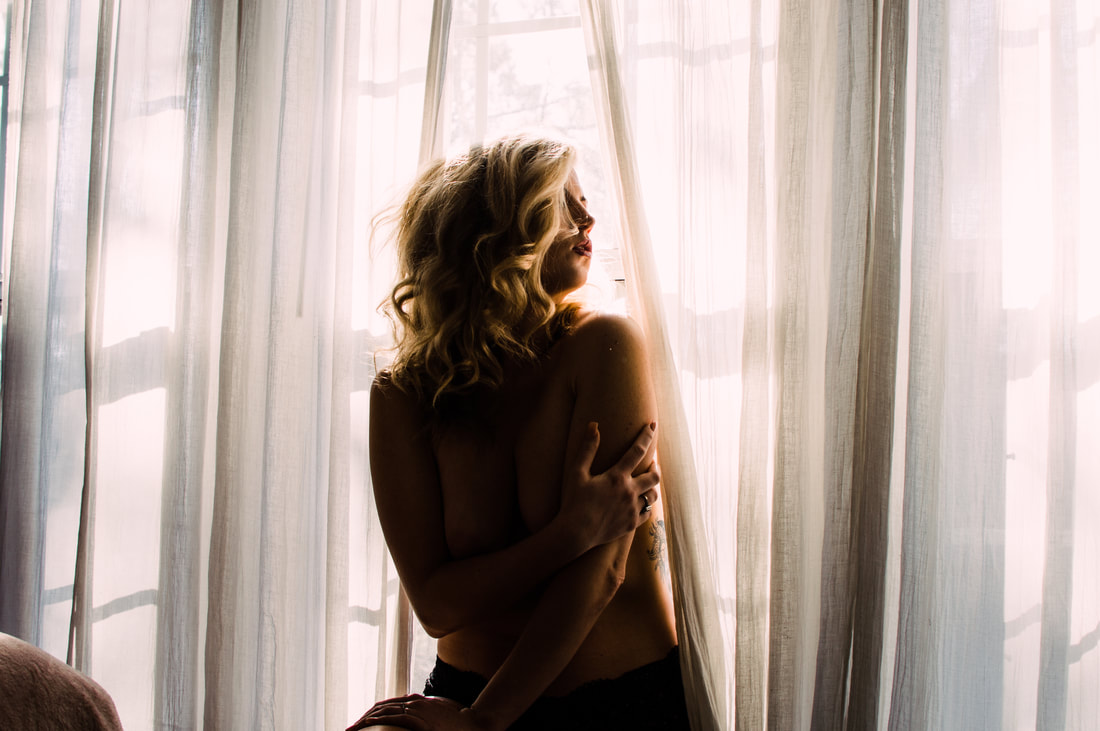
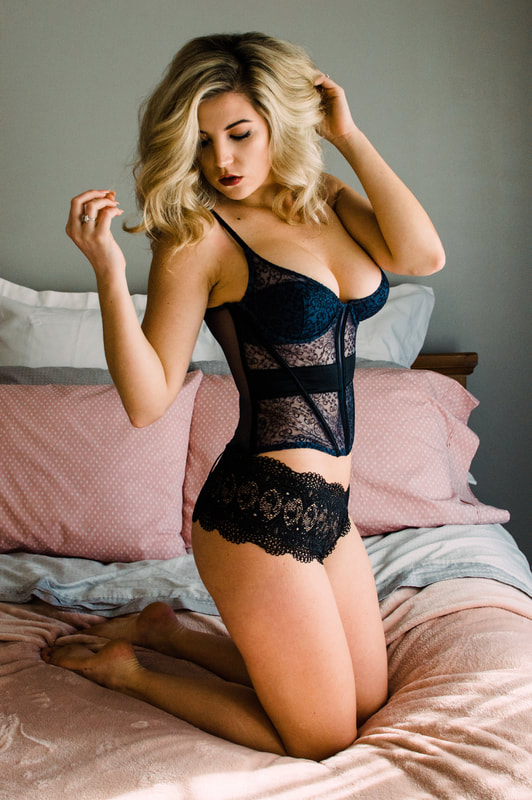
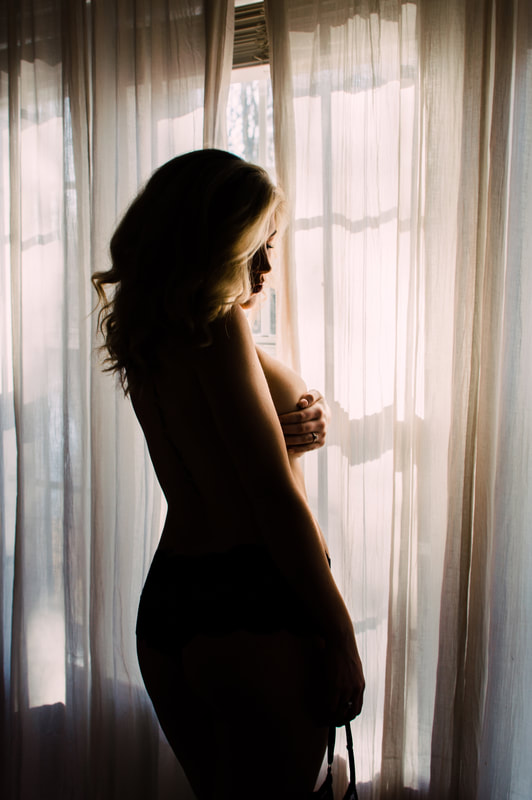
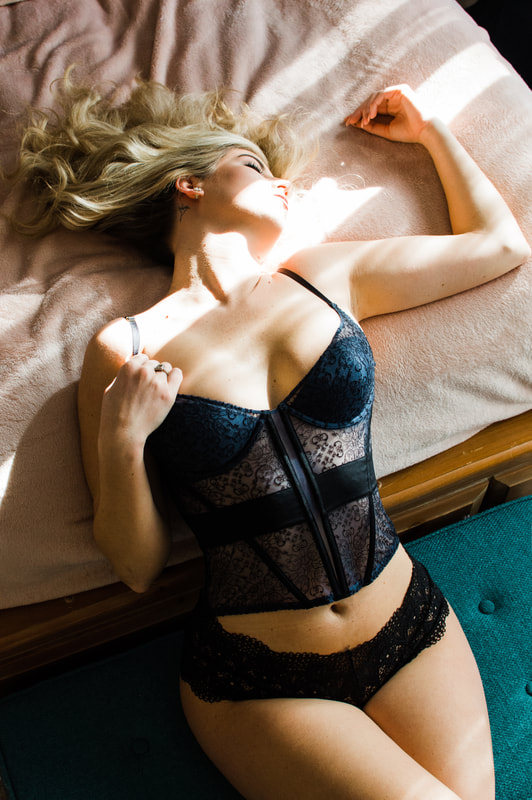
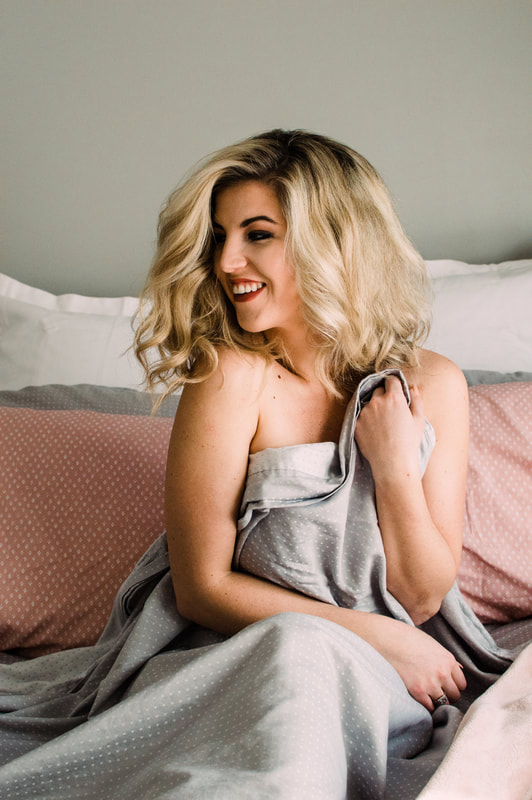
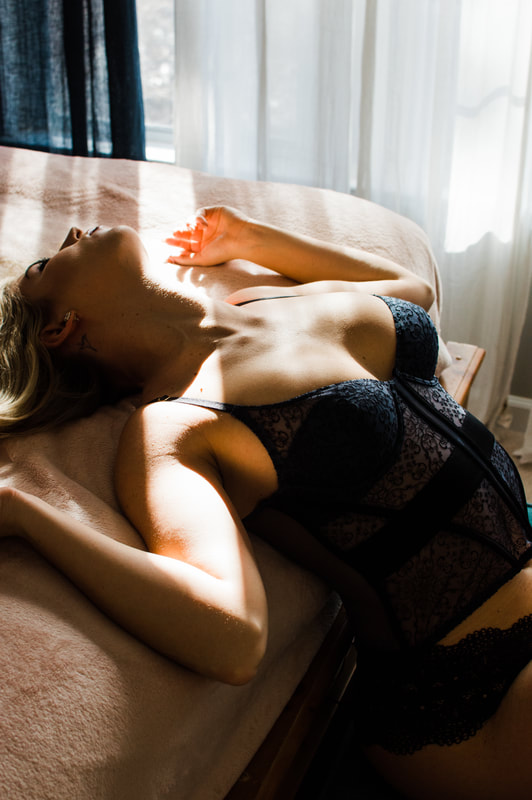
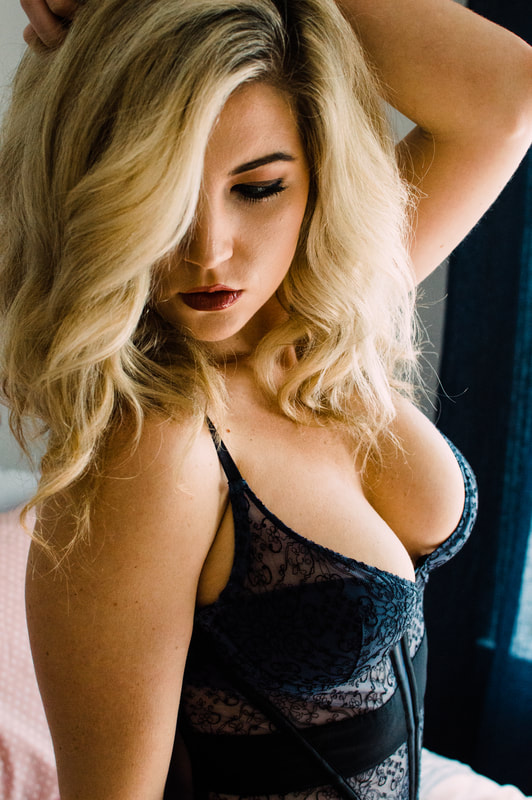
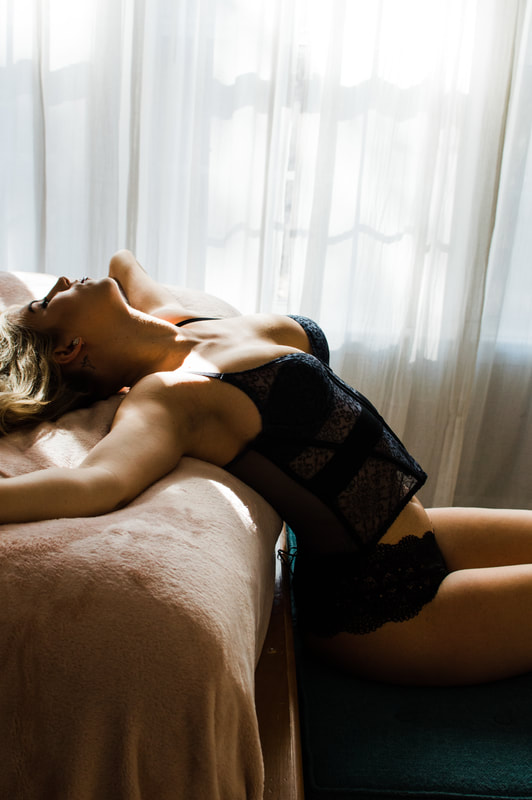
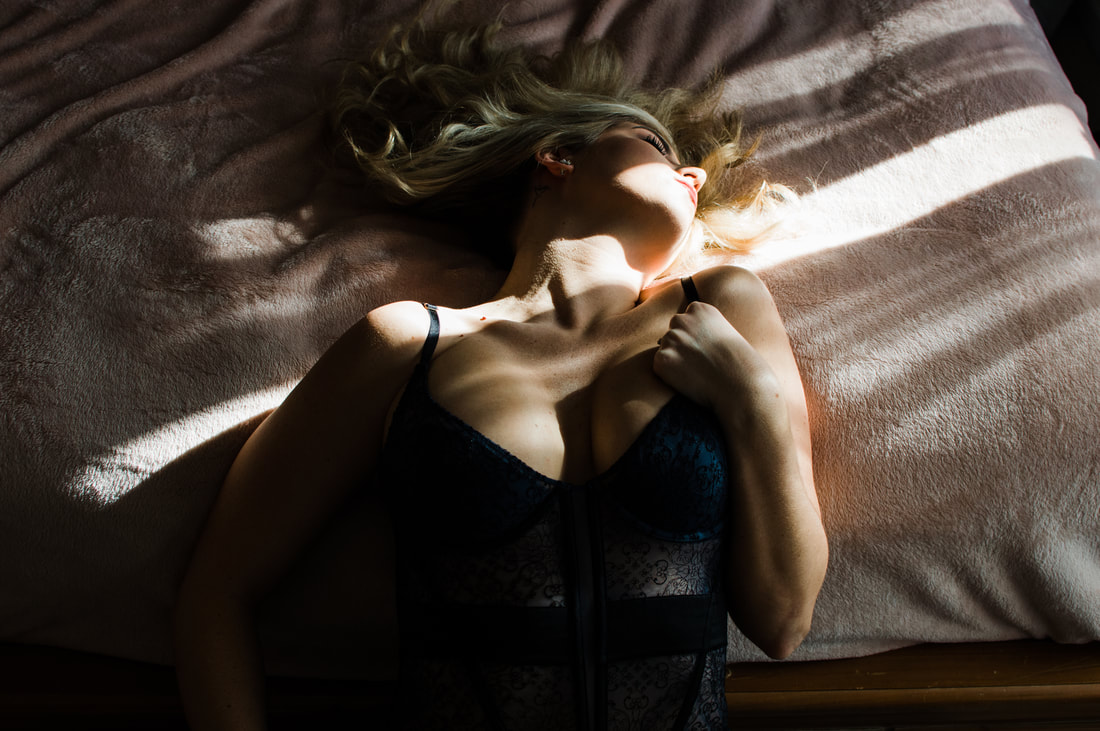 Wow, it's been awhile since I have posted but as a promise to myself this year, I am going to blog more. You deserve to get the same attention from me on my blog as you do from me at our sessions. So that is one promise I am going to make to you and to myself this year. Boudoir sessions are solutely some of my all-time favorite sessions. These sessions offer a chance for you to let your walls down, get of your comfort zone and embrace your inner sexy. Boudoir sessions are not just some sexy and gorgeous photos for your significant other but they are for yourself. You don't have to be in a relationship to feel sexy, in fact you should feel sexy and confident in yourself to help sustain any relationship you are in because confidence is key and you should work it! *cue YASSS QUEEN* *finger snaps*
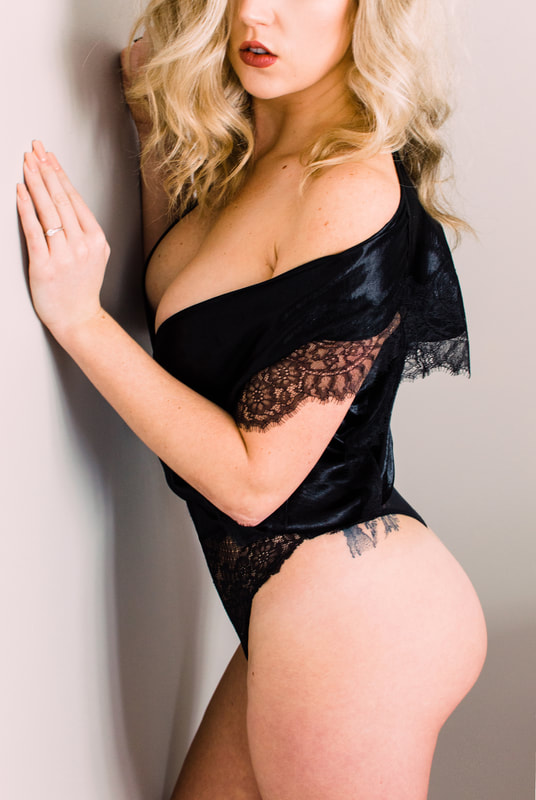
Next weekend, February 1st through the 4th I am running a boudoir marathon and am offering my boudoir sessions at nearly 75% off my normal rates. These are 30 minute sessions with 5 digital images for $100. You will have your choice of 20+ photos to choose your 5 from. There is also a second package you can purchase for $250 instead . This additional package still includes the session, your 5 digital downloads and a 6x9 leather bounded album with your choice of 20 photos inside. This is an unbelievable deal, the album has thick layflat pages and is such a great addition to your session. You will also have the option to purchase your digital images at $20/image. I have more options if these aren't what you are looking for, all you need to do is ask! Now check out this gorgeous girl who so graciously modeled for me at the boudoir marathon location. All images here are what you will have available to you for your session. I can't wait to chat with you soon! Only 9-12 days left to book! Act fast, spots will go quickly!

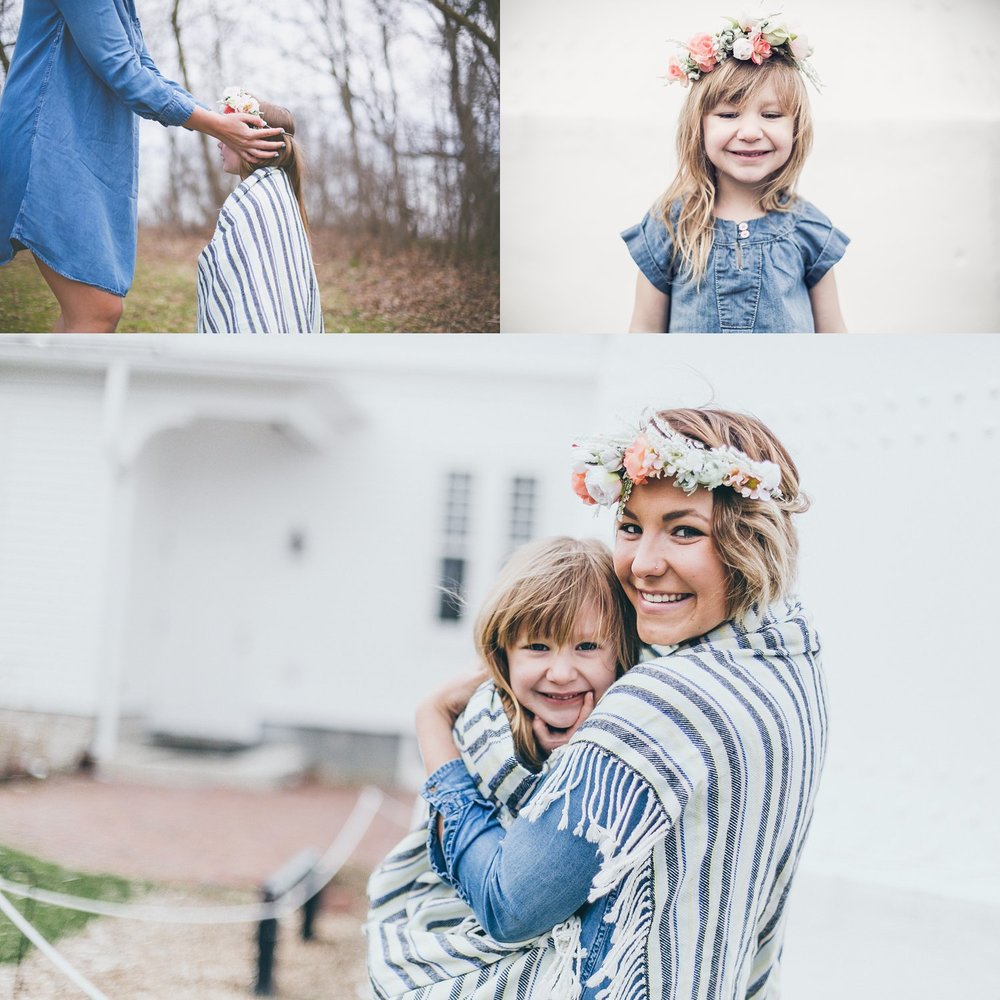
So what are you waiting for?Flower crowns have been all over the photography and wedding scene for the past year and they certainly aren't going anywhere anytime soon. Flower crowns are becoming more natural looking and are including several different kinds of flowers now. I hope this trend sticks around for a while as I have just learned how to make my own! I had a photoshoot on Sunday for a wooded boudoir session and I knew exactly what I wanted for the headpiece that would wrap everything up in a nice little bow. I went on a search Saturday for the most perfect fake flowers but kept ending up disappointed. I then decided to take a huge leap of faith in myself and bought fresh flowers; I was determined to make this work. Much to my surprise it was extremely easy to make a fresh flower crown (a bit tedious but easy)! Don't mind the bad picture quality but I took these at 11pm the night before the shoot because I totally needed to document this process so all of you could do this at home! Follow the directions below and you will have a winning flower crown in no time! Materials needed: - Floral wire ($1 @ Dollar store) - Floral Tape ($1 @ Dollar store) - Wire cutters ($1 @ Dollar store) - Fresh flowers ($8 @ Publix or your newest grocery store)  Step 1: Gather your fresh flowers. I bought these two bouquets at Publix for $4 each. Cut a few inches off the ends of the flowers, just enough so they sit nicely in a vase with water to keep them fresh while you are working with them. 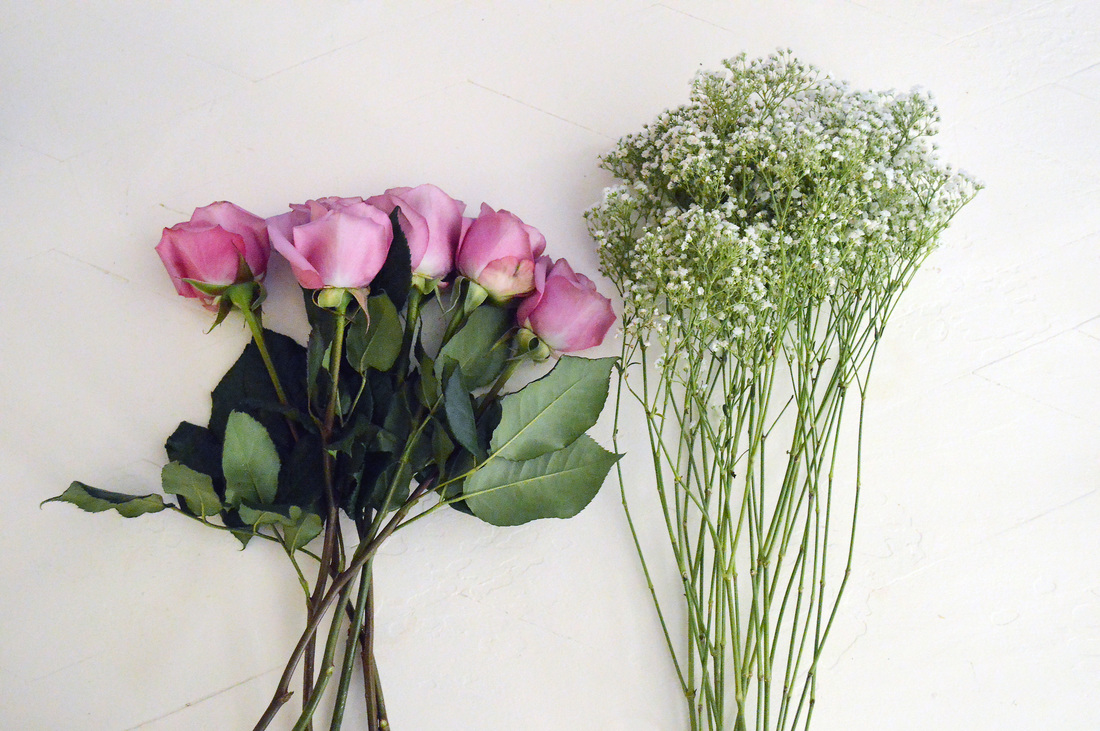 Step 2: Remove the leaves from the stems of the flowers. 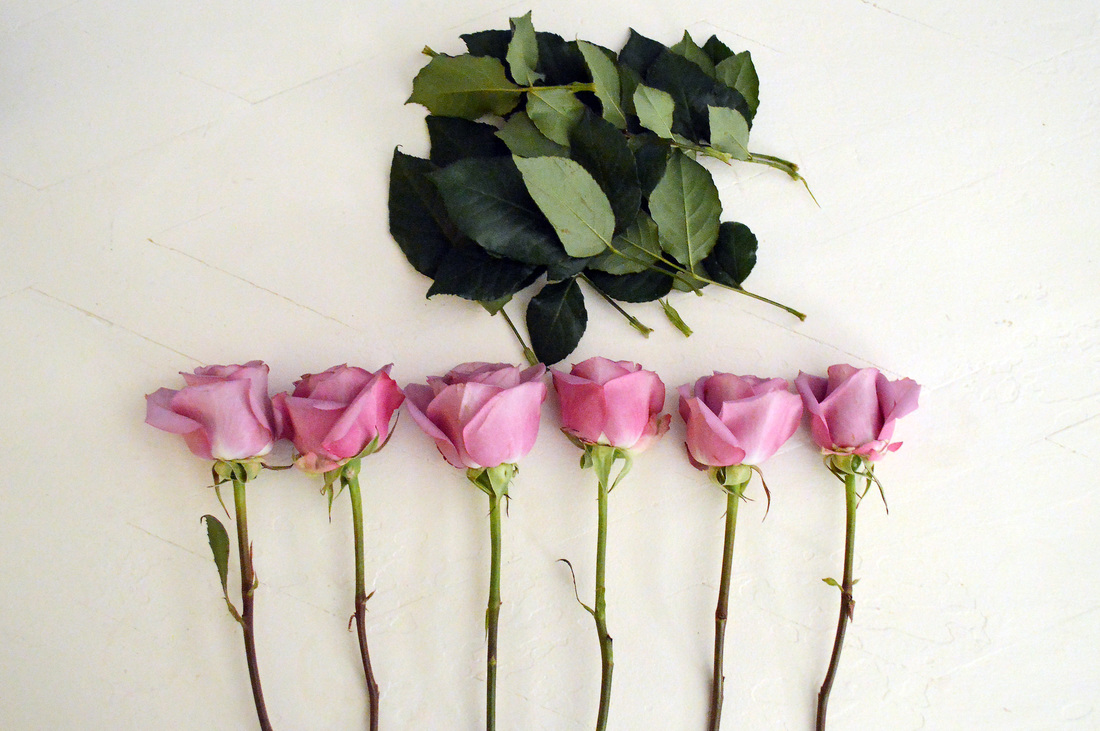 Step 3: Cut 3 pieces of floral wire a few inches larger than your head or clients head circumference. This will give you enough length to braid the 3 wires together. I used floral wire that wasn't very thick because I wanted to keep my cost down so I braided 3 wires together to make it stronger. You could also twist them together because you will be taping them together anyways as you will see in the next step. I secured the ends together by wrapping the ends together. 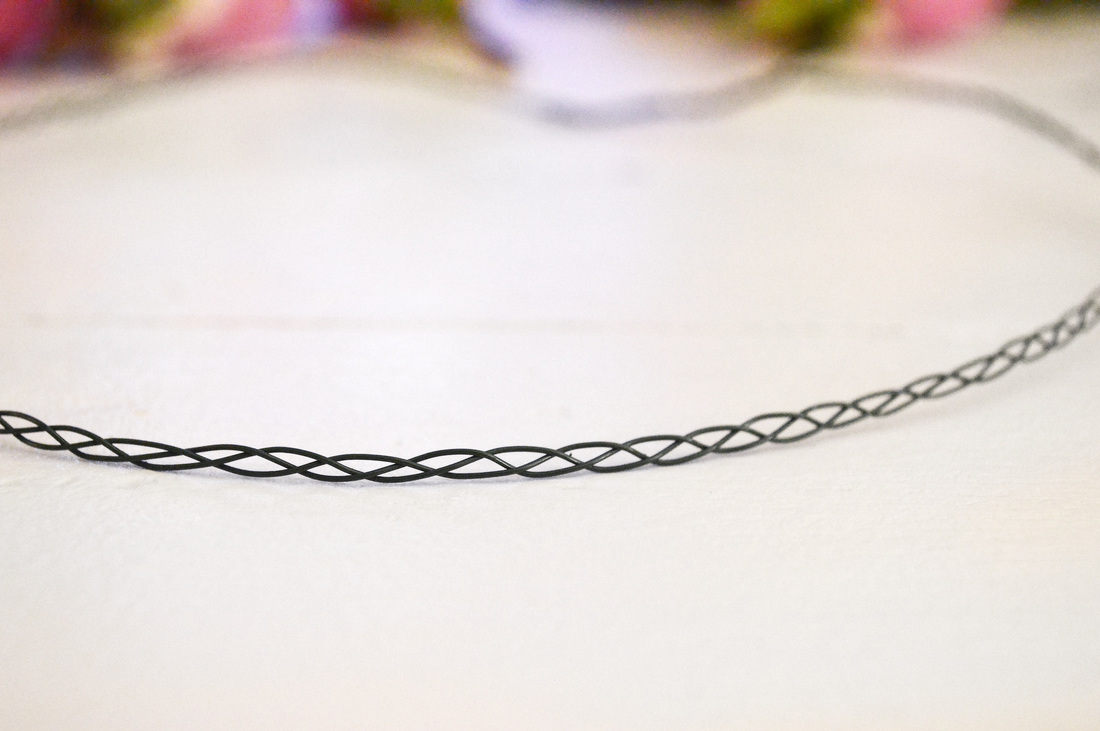 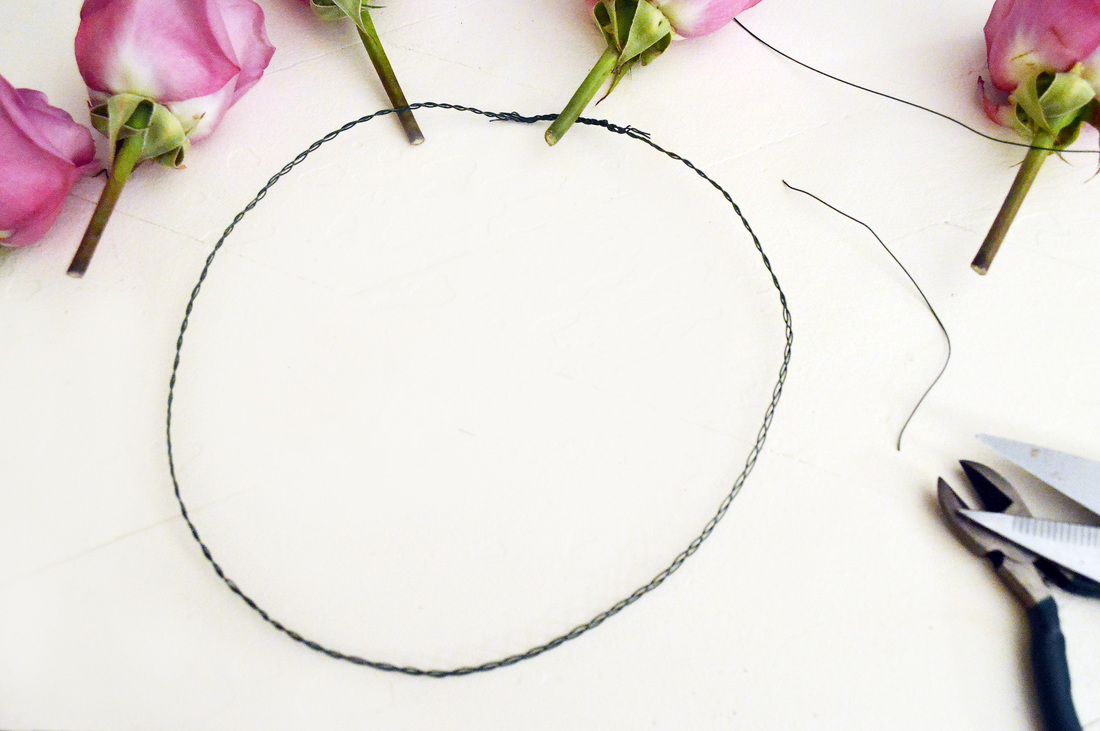 Step 4: Take the floral tape and start wrapping all the way around the wire until you reach the other end. 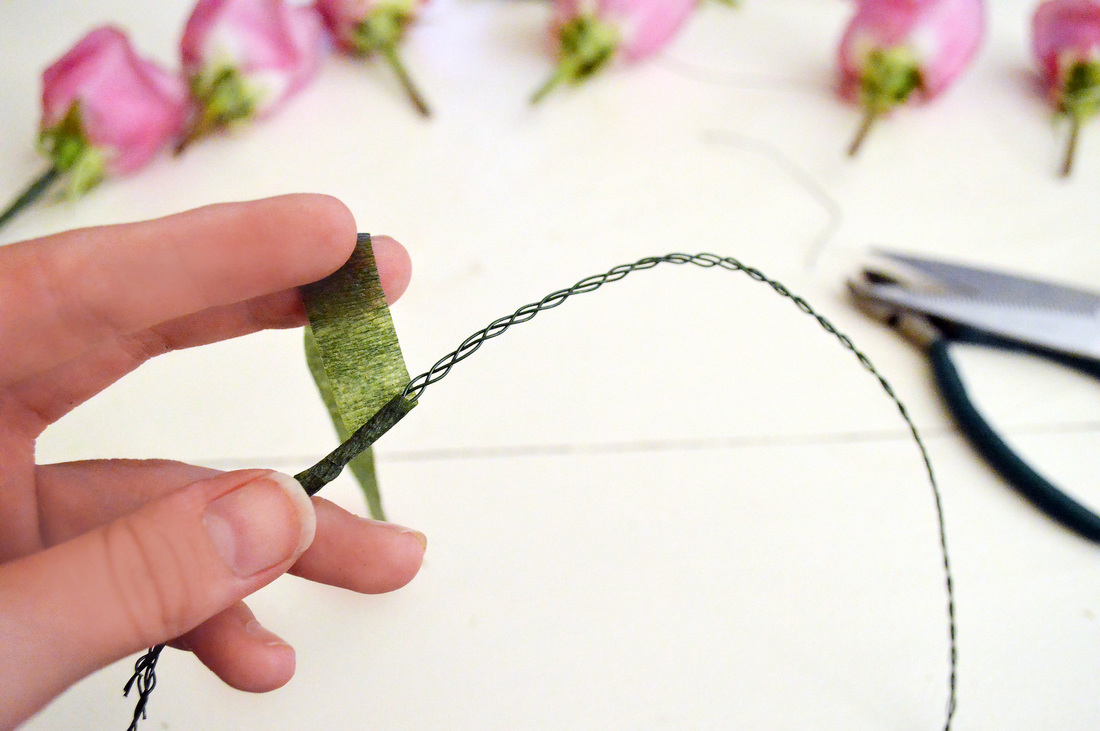 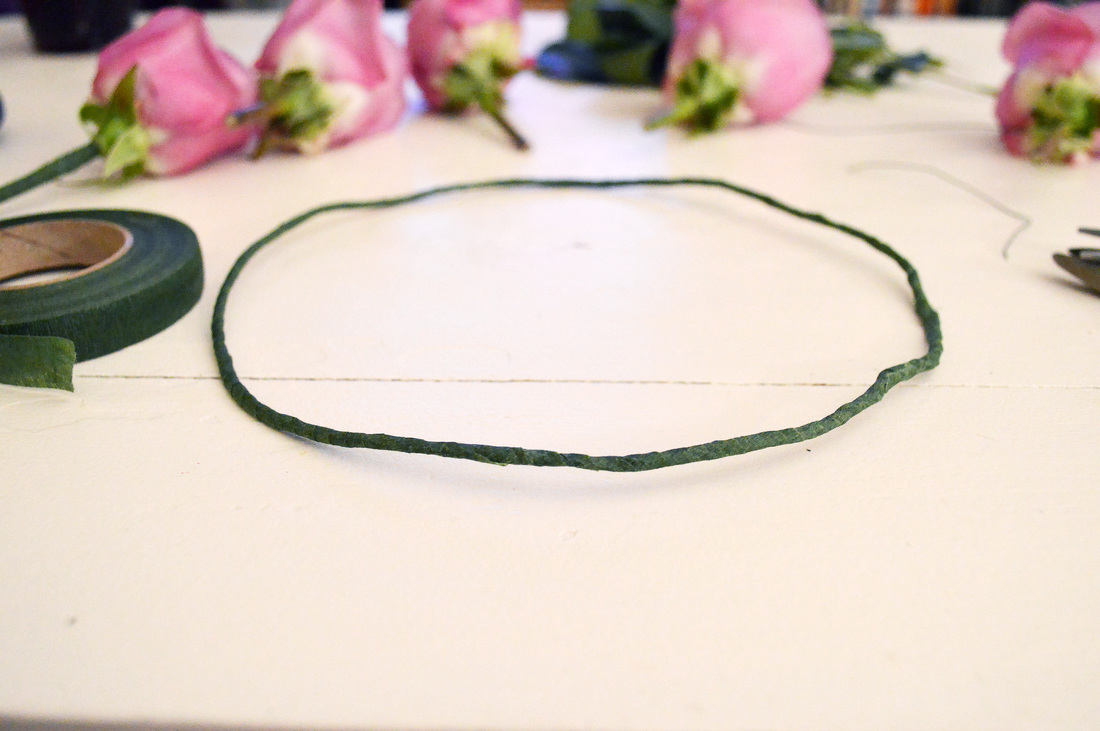 Step 5: To keep heavy flowers together and not breaking off from the stem I pulled wire through the base of the rose. You will puncture the base of the flower and work it in until you can see it come out of the top of the flower. Bend the wire to make a hook and pull back through until its tight. Wrap the excess wire around the stem and tape with floral tape. 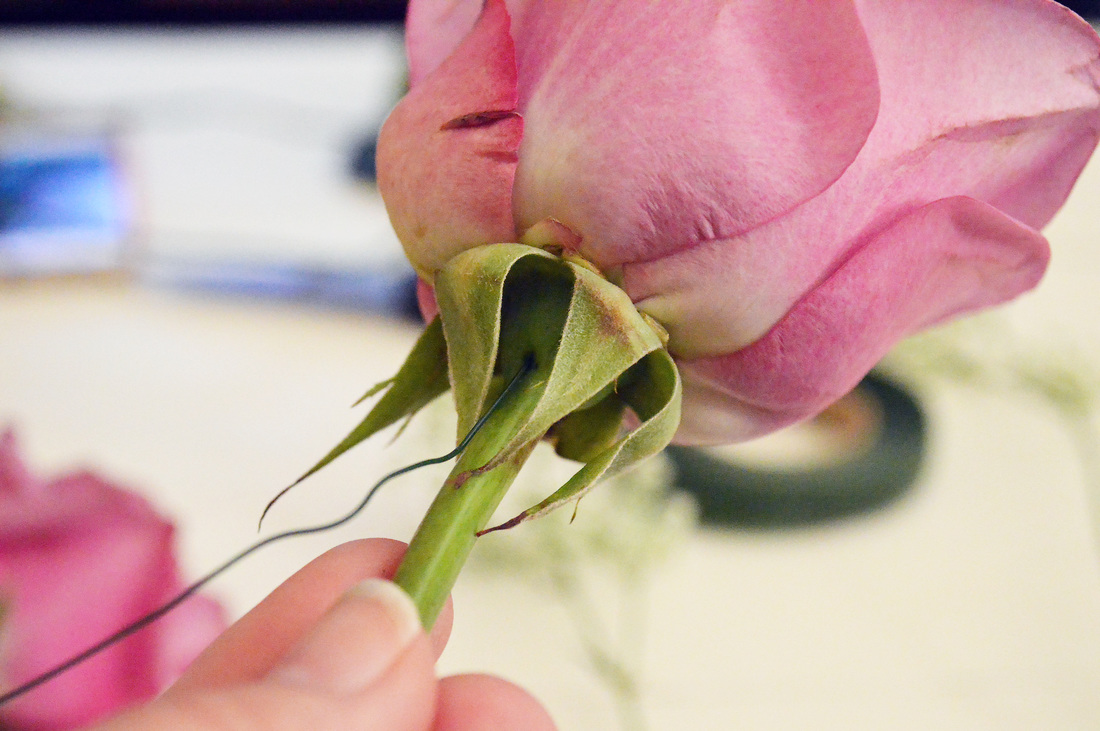 Step 6: This is the fun part, this is where your creative juices start flowing and your vision can come to life! I started with a bundle of babies breath (on the far left of the crown in the picture below and started adding to the crown from that point. To attach the flowers to the crown you will place the flower stem even with the crown wire and tape the stem to the crown. For the larger and heavier flowers like the roses, I used the floral wire to attach them before taping it; this will give the flower more support. 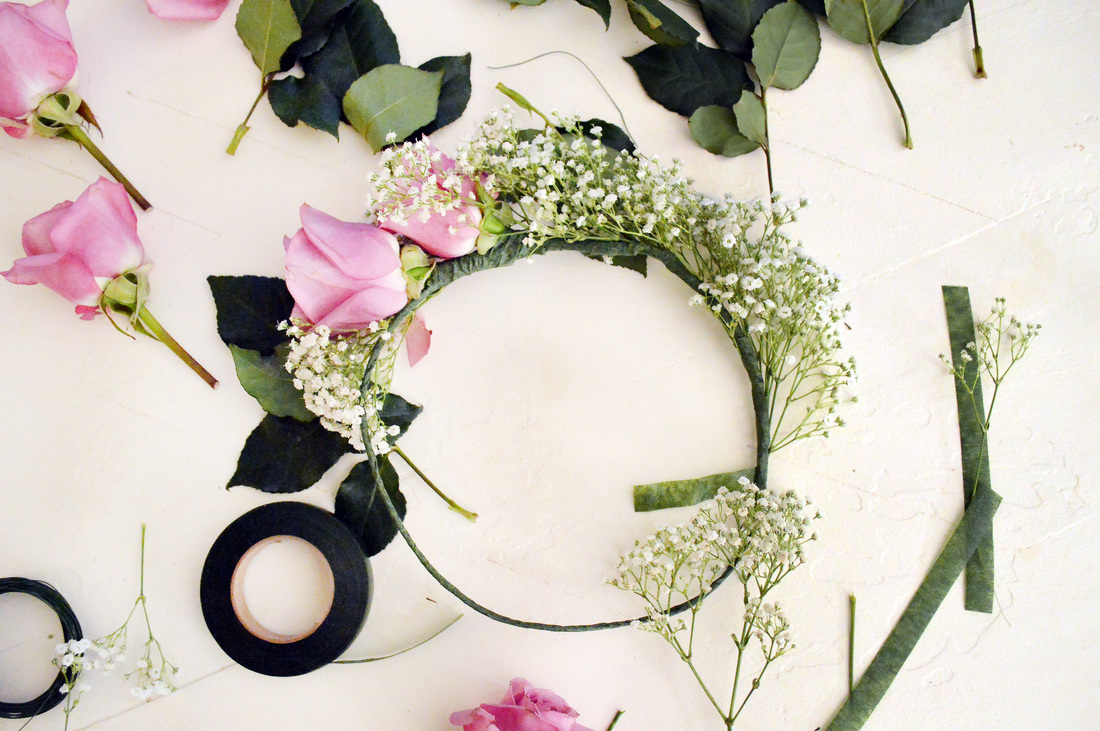 Step 7: Enjoy your flower crown to its fullest extent! The below image was from after it sat in the hot car all day after the photo shoot that we used it for, but I will post a few images from the shoot in a later blog post.  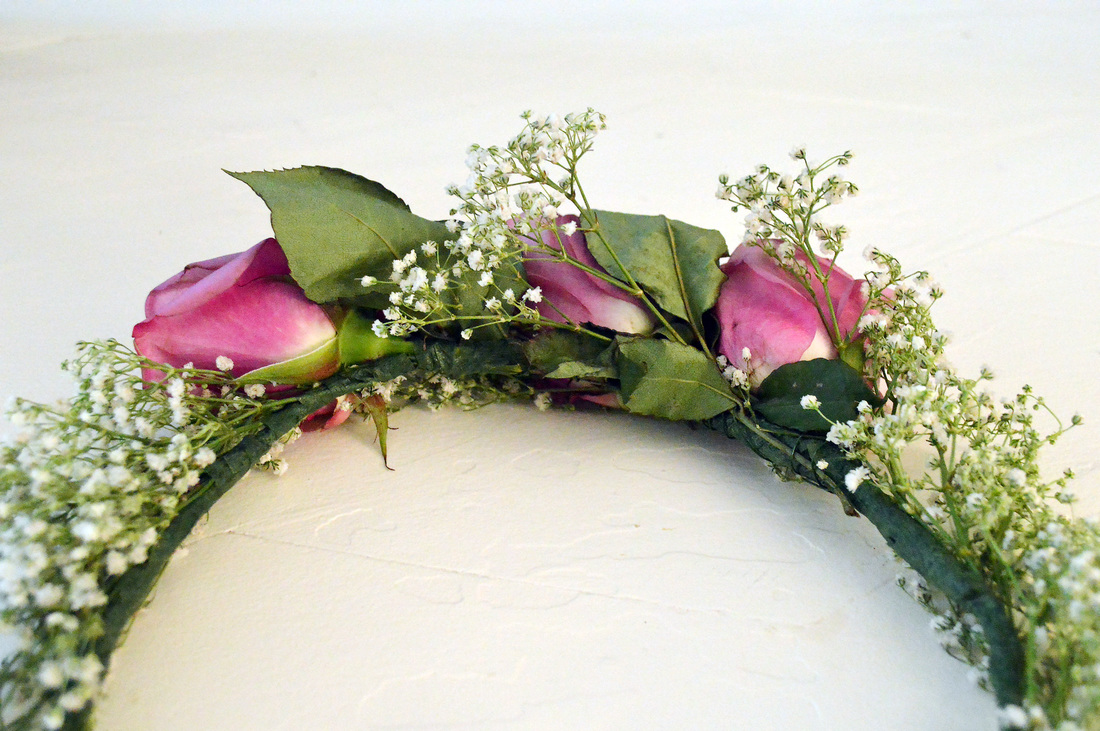 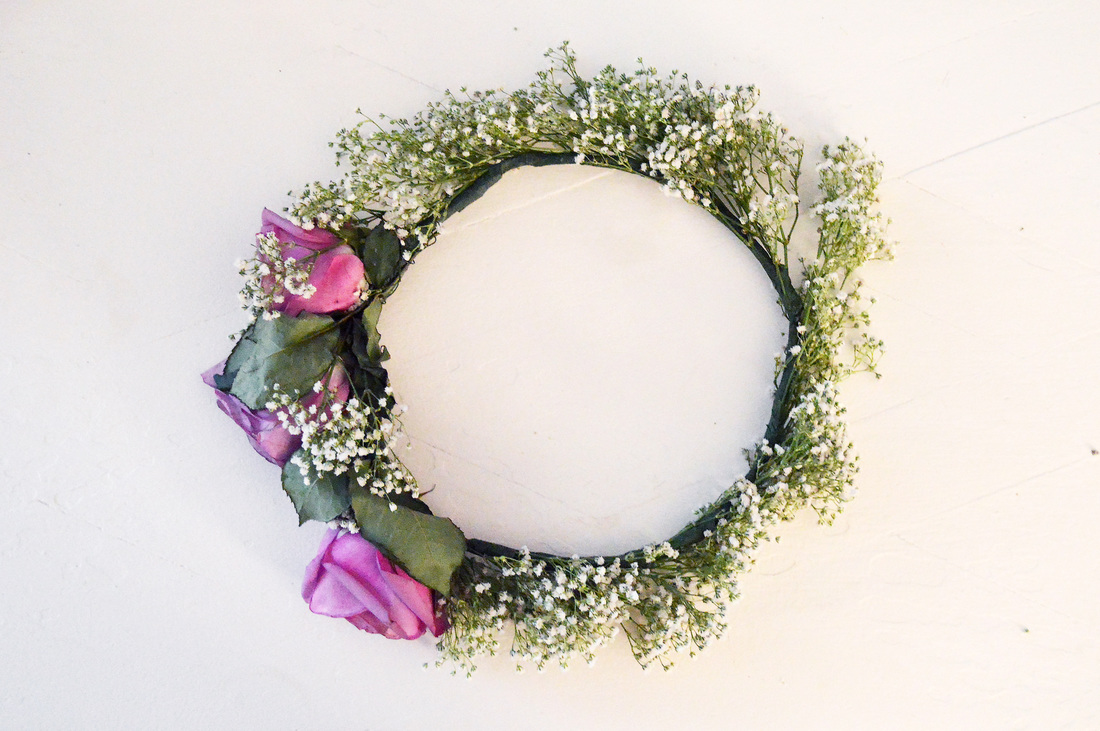 Check back for more DIY props for your photo sessions!
|
AuthorKatie Coon Archives
January 2020
Categories
All
|


 RSS Feed
Contact MeKatie Coon
Atlanta, Georgia Passport Ready |
|