|
Flower crowns have been all over the photography and wedding scene for the past year and they certainly aren't going anywhere anytime soon. Flower crowns are becoming more natural looking and are including several different kinds of flowers now. I hope this trend sticks around for a while as I have just learned how to make my own! I had a photoshoot on Sunday for a wooded boudoir session and I knew exactly what I wanted for the headpiece that would wrap everything up in a nice little bow. I went on a search Saturday for the most perfect fake flowers but kept ending up disappointed. I then decided to take a huge leap of faith in myself and bought fresh flowers; I was determined to make this work. Much to my surprise it was extremely easy to make a fresh flower crown (a bit tedious but easy)! Don't mind the bad picture quality but I took these at 11pm the night before the shoot because I totally needed to document this process so all of you could do this at home! Follow the directions below and you will have a winning flower crown in no time! Materials needed: - Floral wire ($1 @ Dollar store) - Floral Tape ($1 @ Dollar store) - Wire cutters ($1 @ Dollar store) - Fresh flowers ($8 @ Publix or your newest grocery store)  Step 1: Gather your fresh flowers. I bought these two bouquets at Publix for $4 each. Cut a few inches off the ends of the flowers, just enough so they sit nicely in a vase with water to keep them fresh while you are working with them. 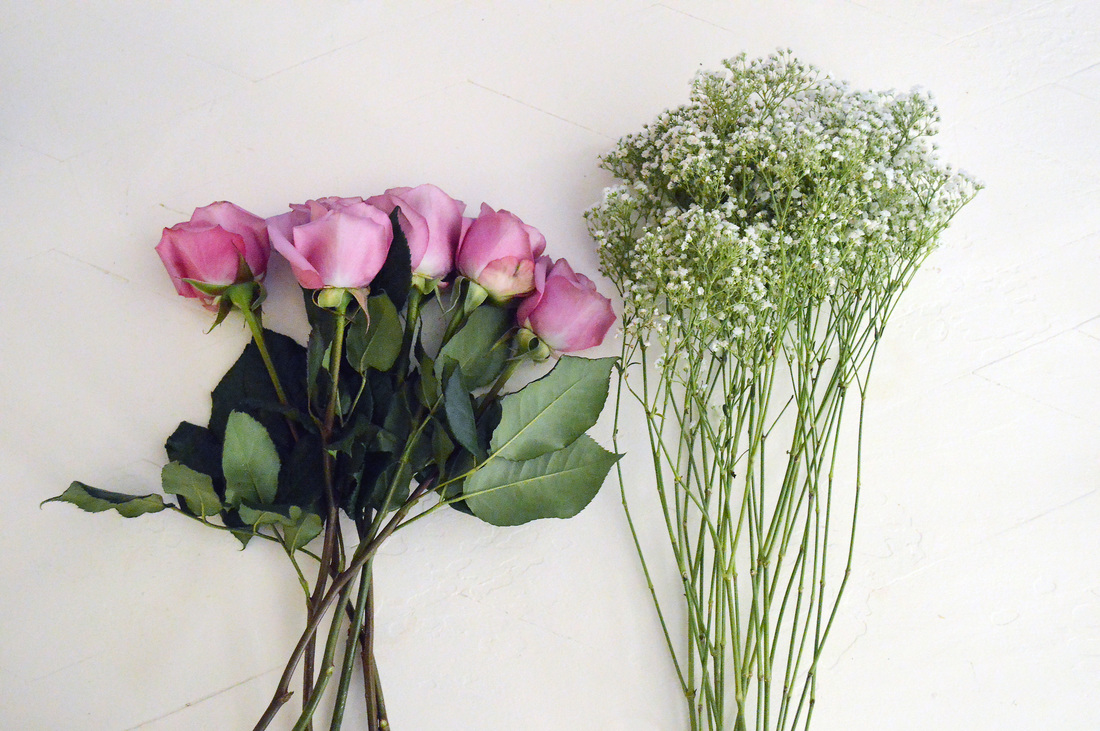 Step 2: Remove the leaves from the stems of the flowers. 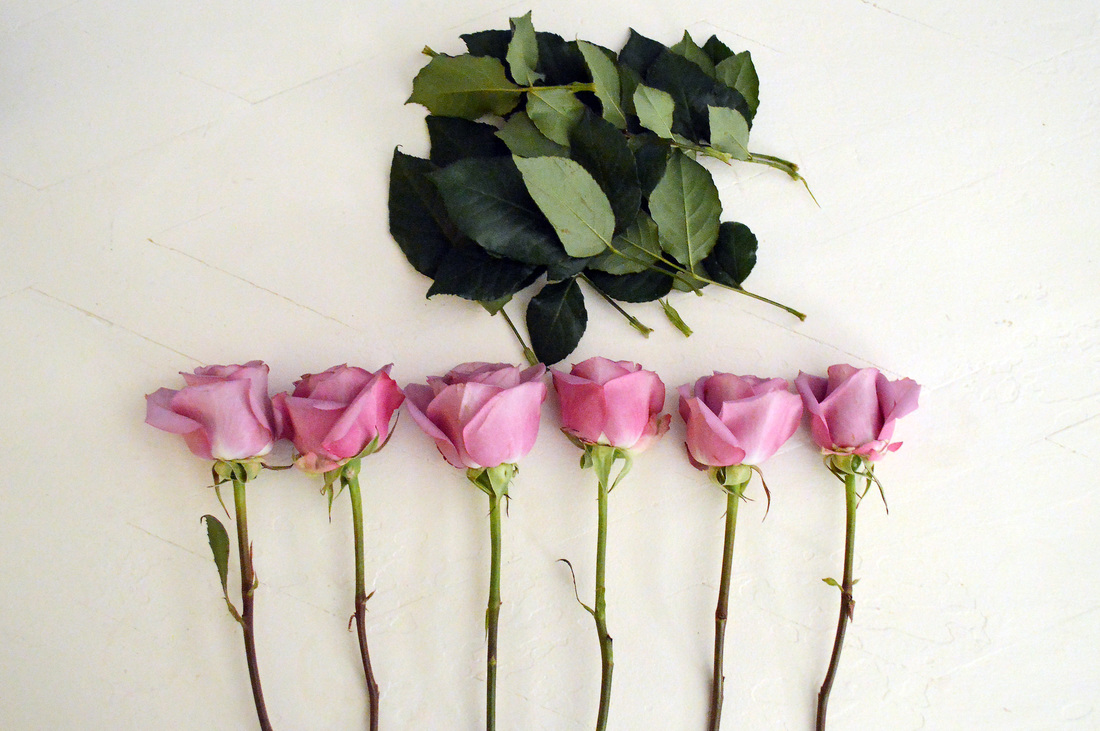 Step 3: Cut 3 pieces of floral wire a few inches larger than your head or clients head circumference. This will give you enough length to braid the 3 wires together. I used floral wire that wasn't very thick because I wanted to keep my cost down so I braided 3 wires together to make it stronger. You could also twist them together because you will be taping them together anyways as you will see in the next step. I secured the ends together by wrapping the ends together. 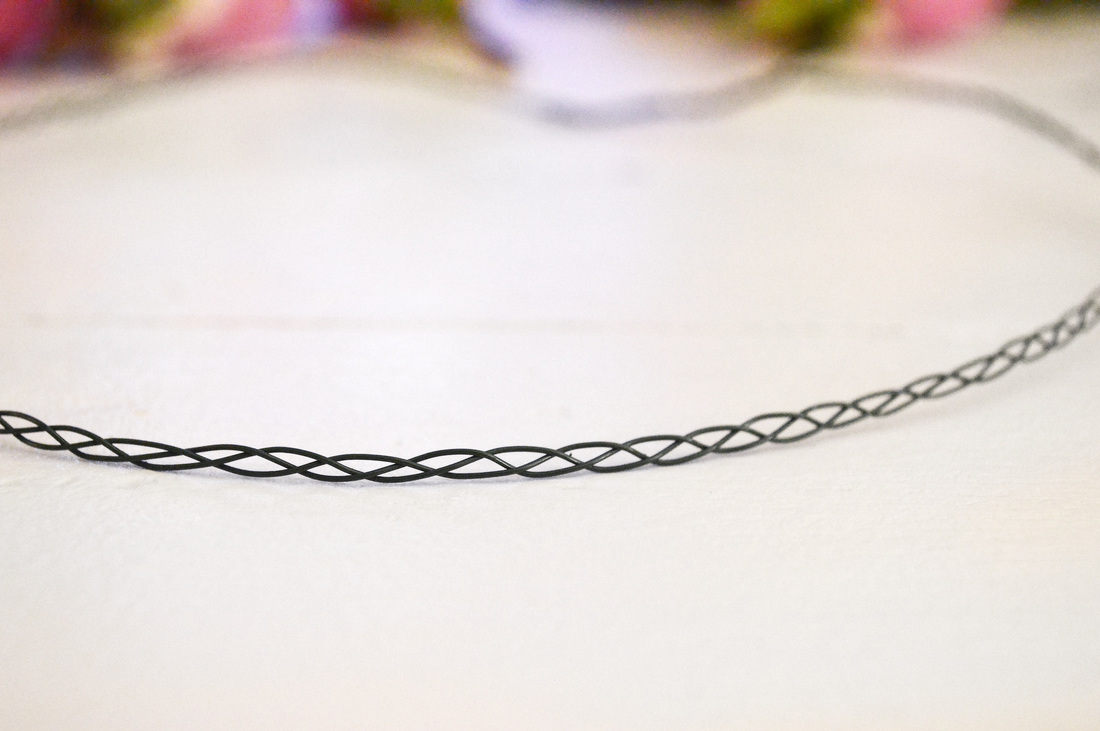 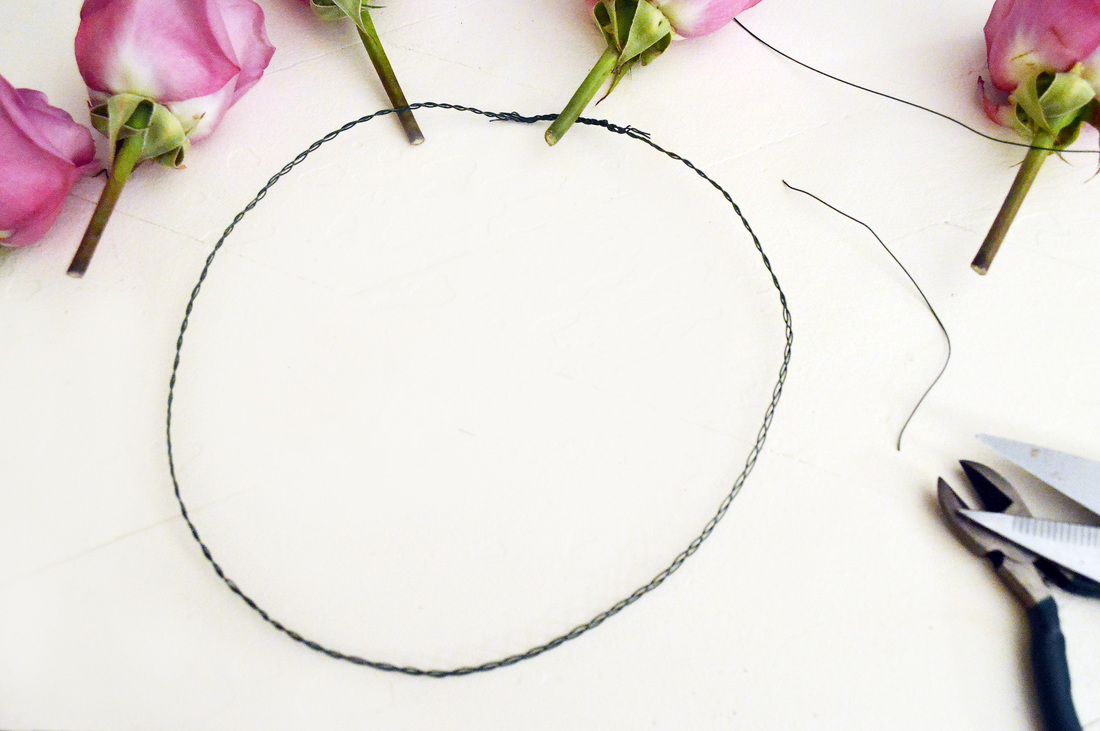 Step 4: Take the floral tape and start wrapping all the way around the wire until you reach the other end. 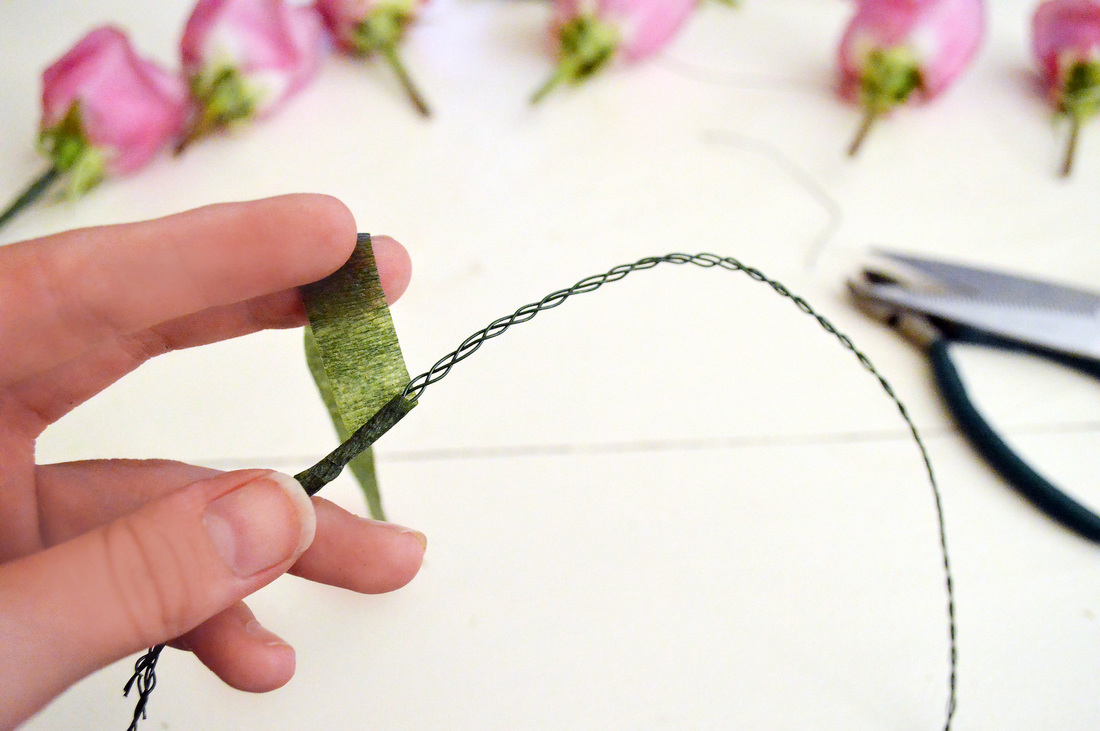 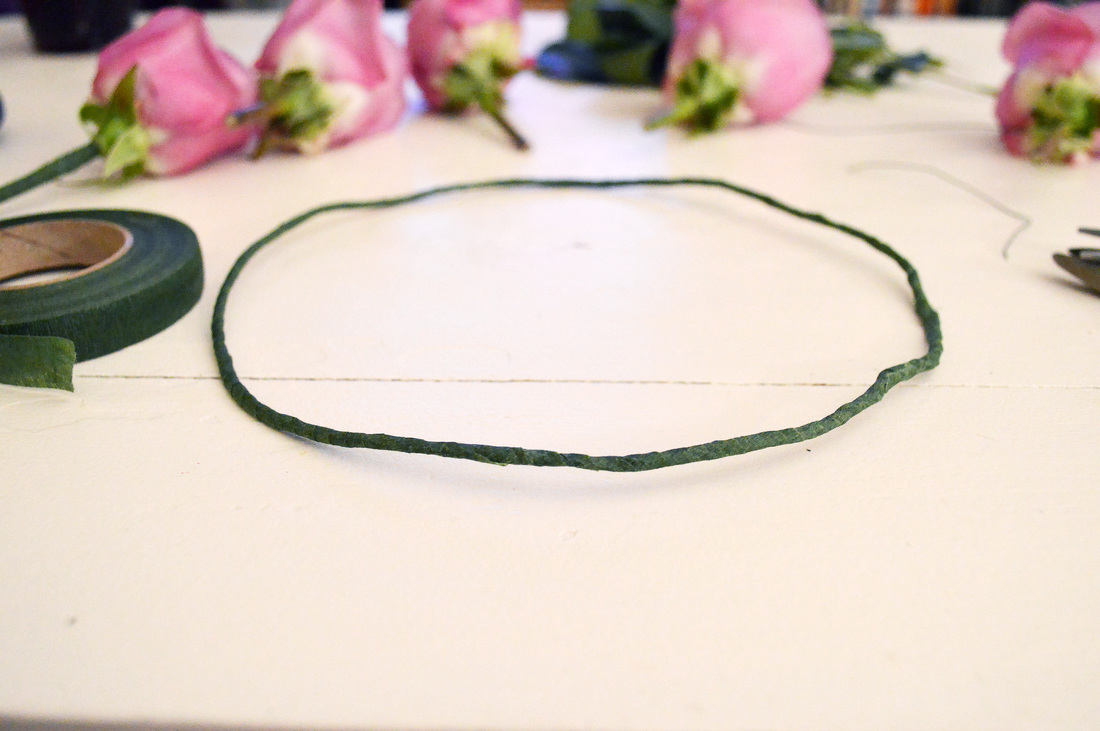 Step 5: To keep heavy flowers together and not breaking off from the stem I pulled wire through the base of the rose. You will puncture the base of the flower and work it in until you can see it come out of the top of the flower. Bend the wire to make a hook and pull back through until its tight. Wrap the excess wire around the stem and tape with floral tape. 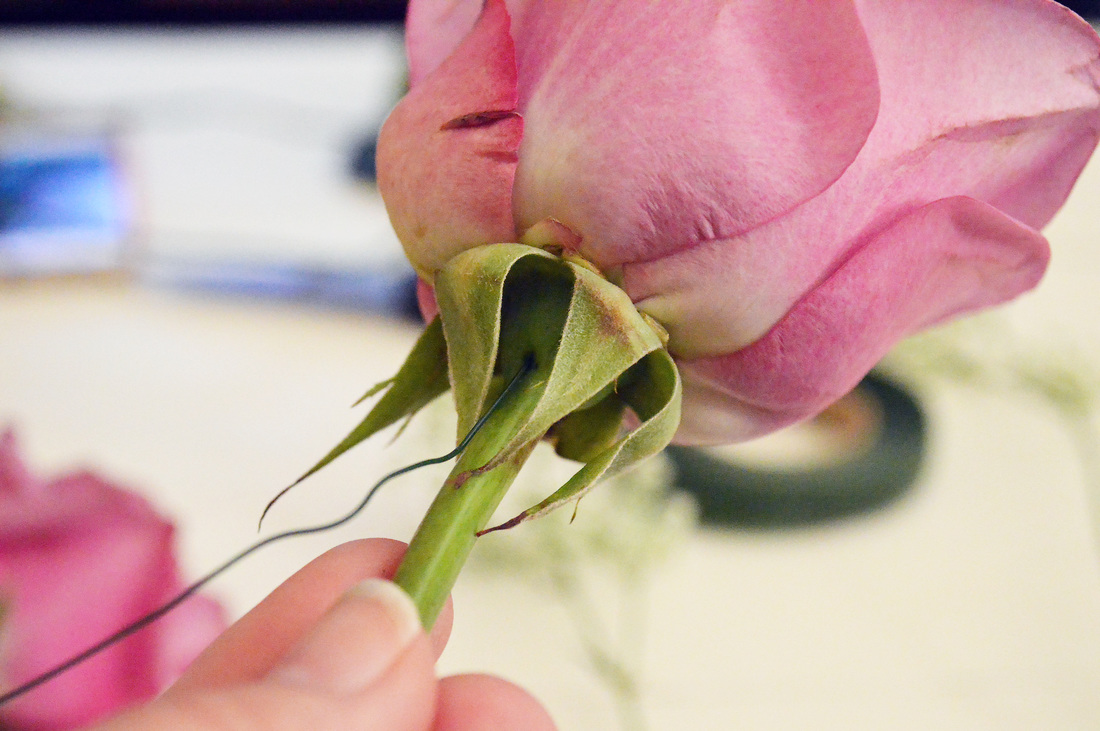 Step 6: This is the fun part, this is where your creative juices start flowing and your vision can come to life! I started with a bundle of babies breath (on the far left of the crown in the picture below and started adding to the crown from that point. To attach the flowers to the crown you will place the flower stem even with the crown wire and tape the stem to the crown. For the larger and heavier flowers like the roses, I used the floral wire to attach them before taping it; this will give the flower more support. 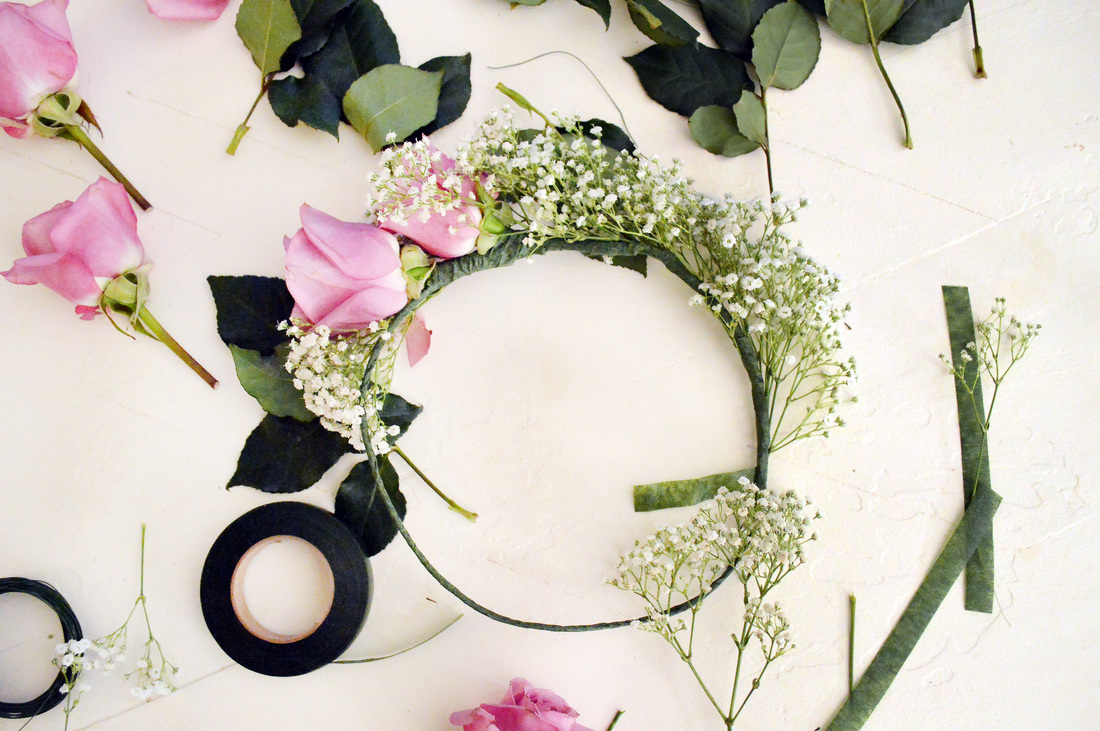 Step 7: Enjoy your flower crown to its fullest extent! The below image was from after it sat in the hot car all day after the photo shoot that we used it for, but I will post a few images from the shoot in a later blog post.  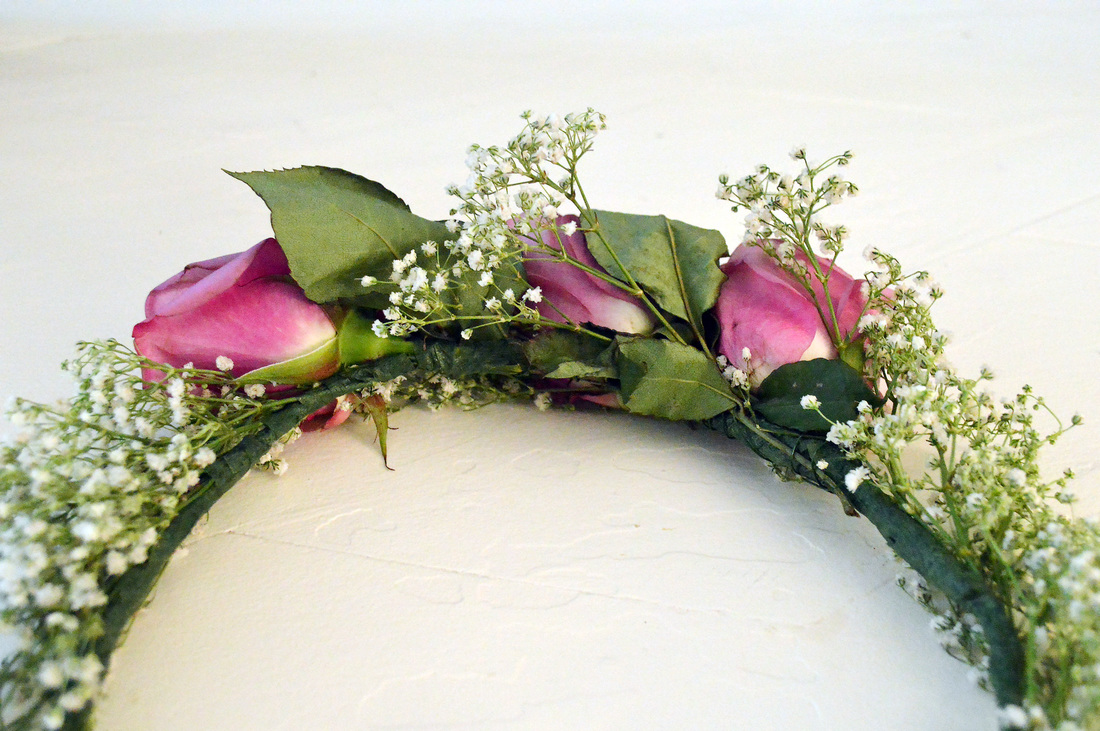 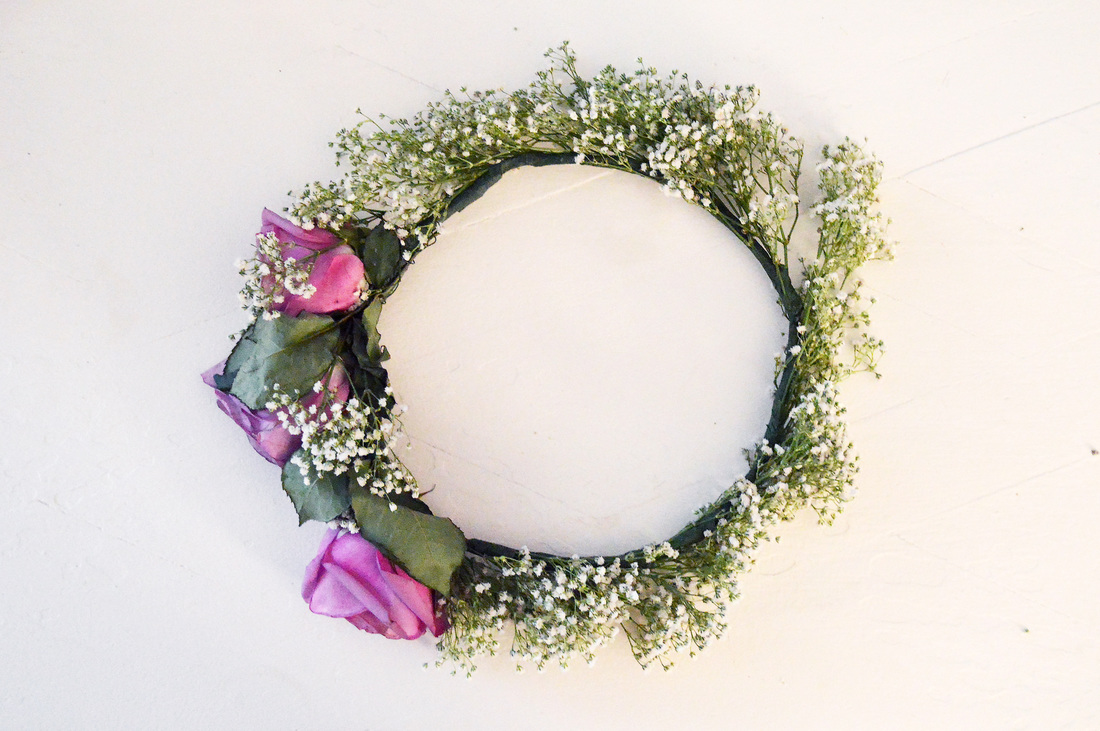 Check back for more DIY props for your photo sessions!
6 Comments
Prince Charming and his bride; that's all I kept saying to myself as I looked over these images after editing. Everything about these lovebirds remind me of a modern day fairy tale! I can't get over how absolutely in love and happy these two are. Their Wednesday afternoon courthouse wedding was embraced with such love as they were surrounded by the ones who mean the most to them while they said "I do" in courtroom 1H in Lawrenceville, Georgia. I was a tad nervous going into the courthouse that afternoon as I had never shot a courthouse wedding before but I had a clear idea of how I wanted my images to turn out so I garnered my inner photojournalist and went back to my roots to "document" their emotions on this monumental day. Thank you Joe and Kylee for letting me be a part of your big day! 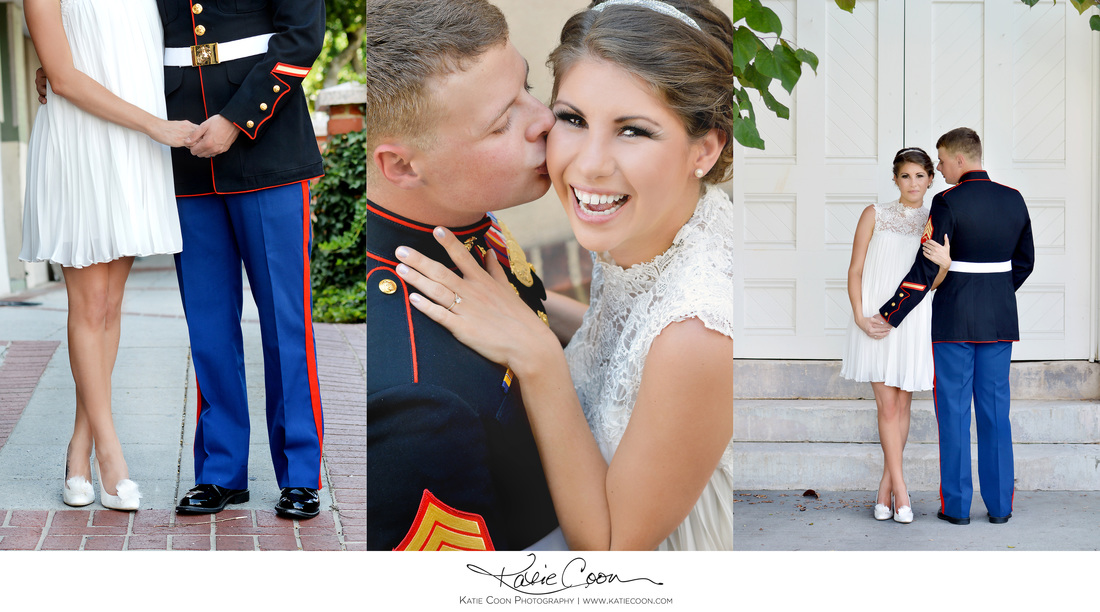 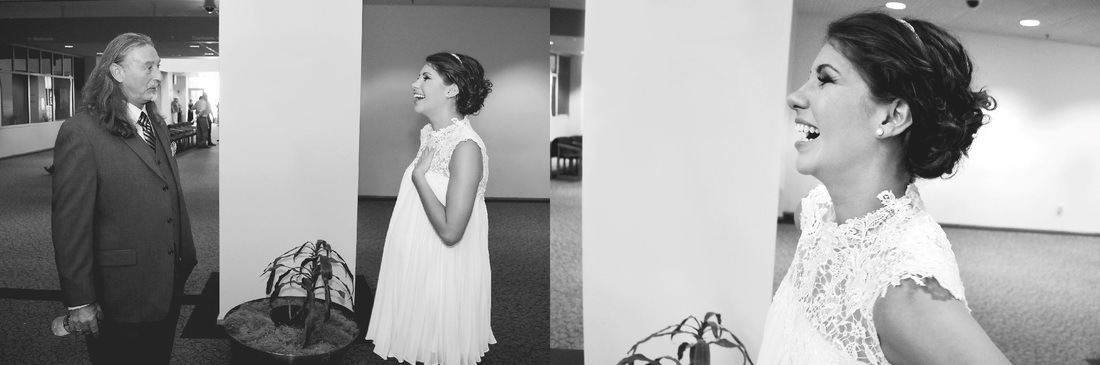 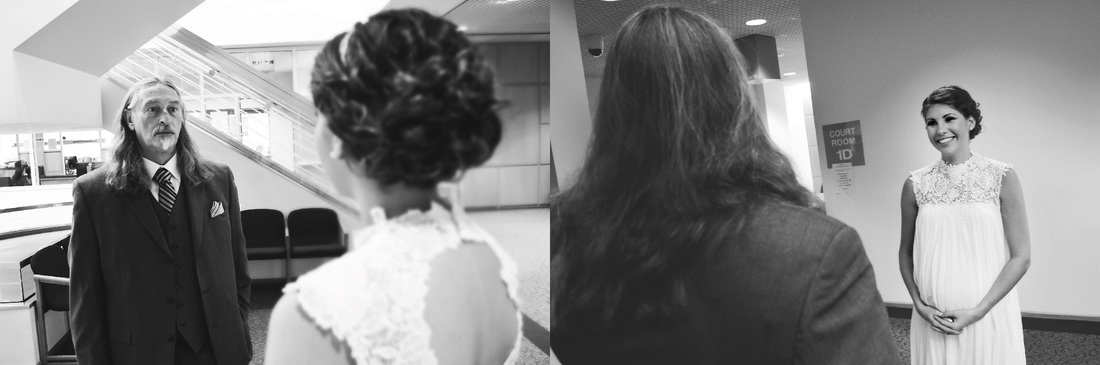 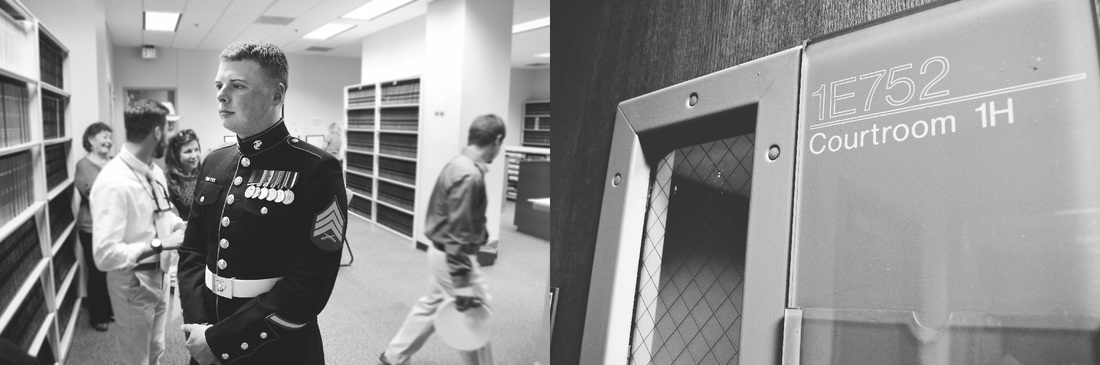 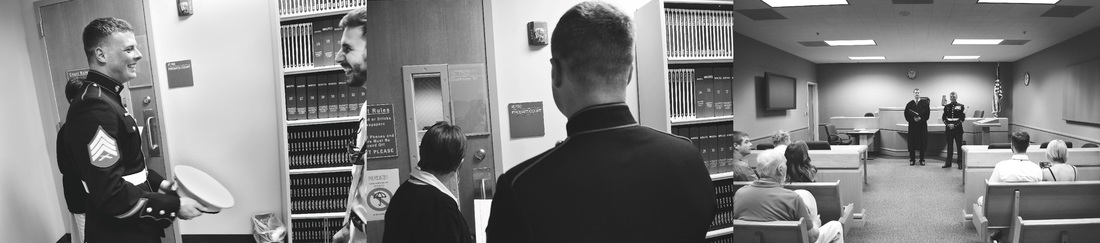 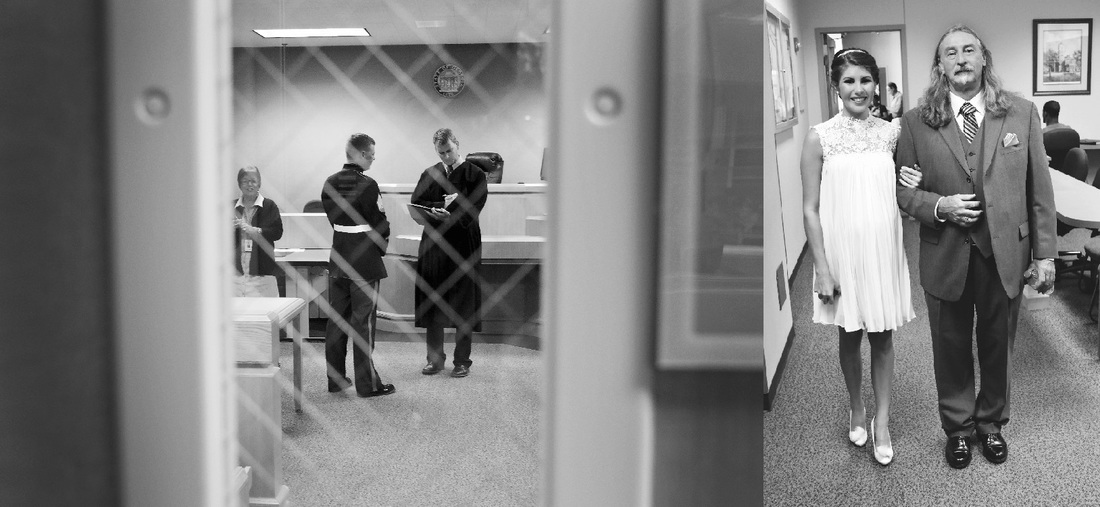 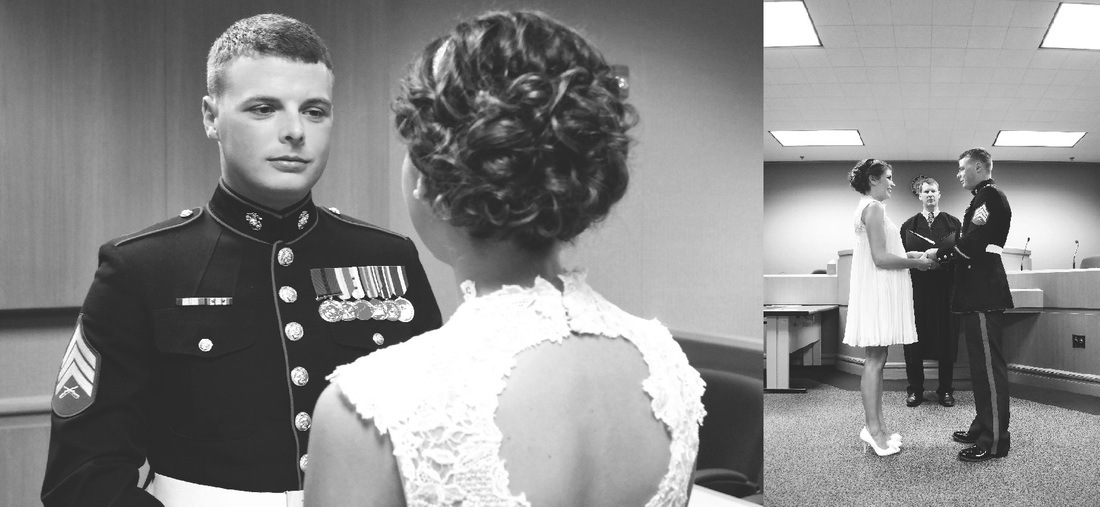 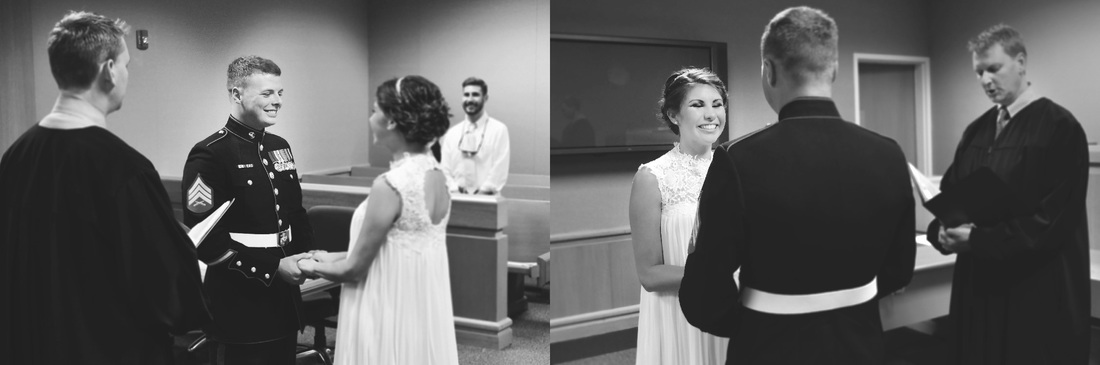 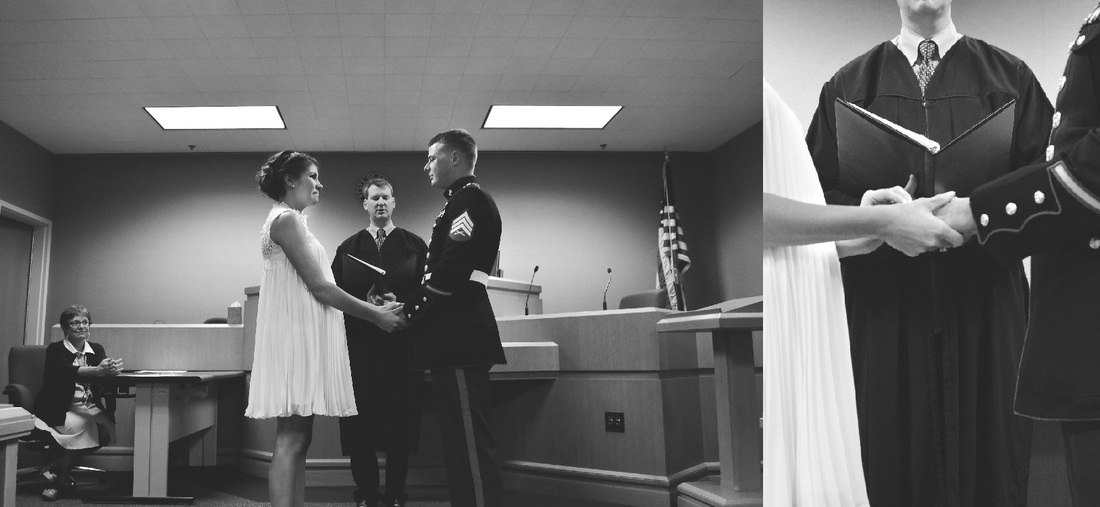 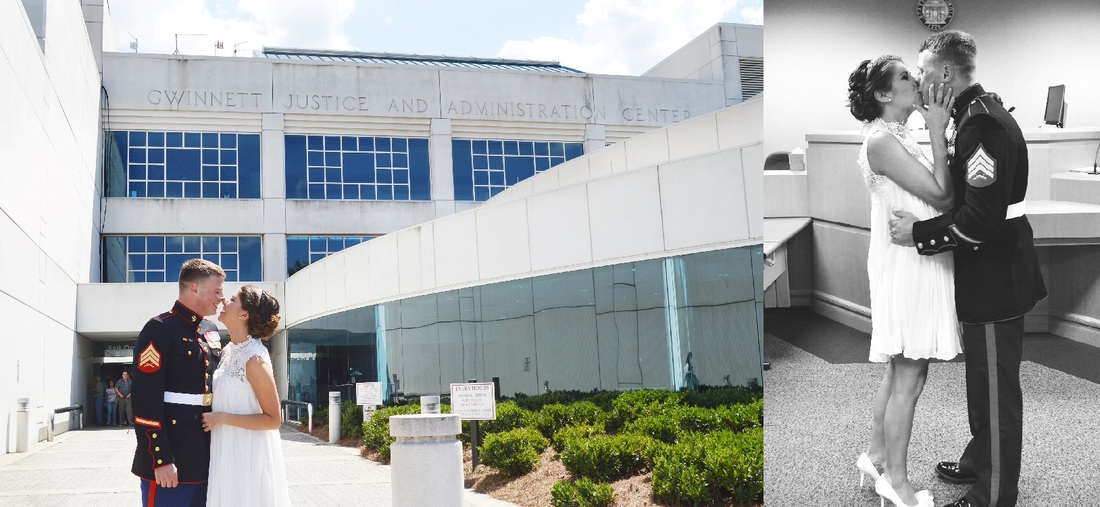 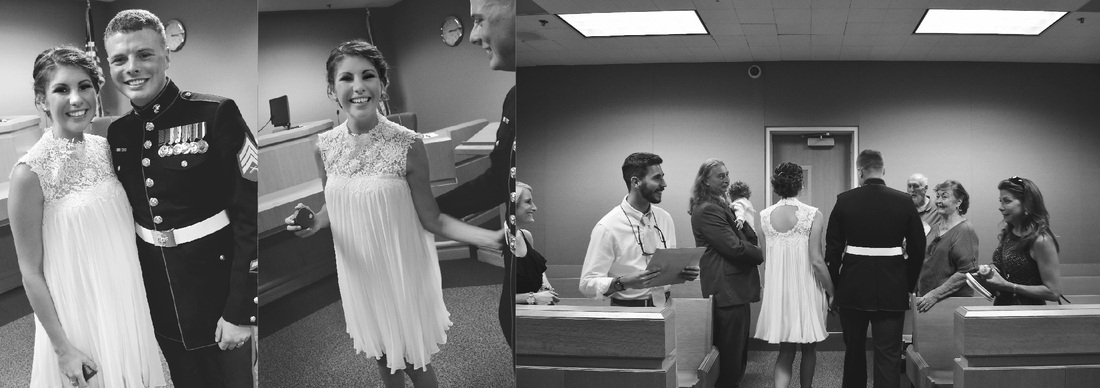 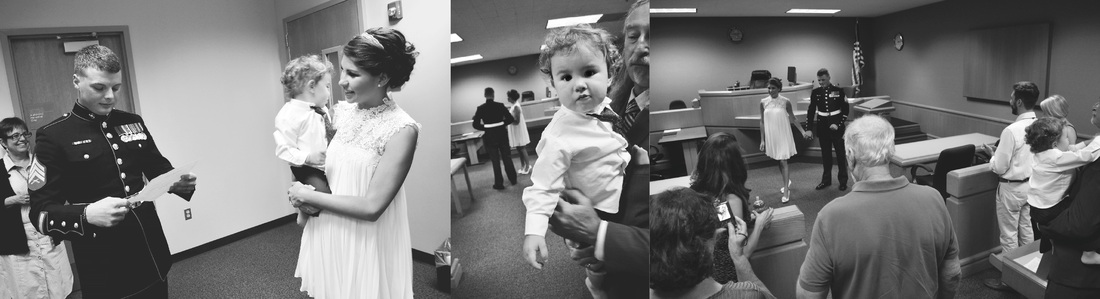 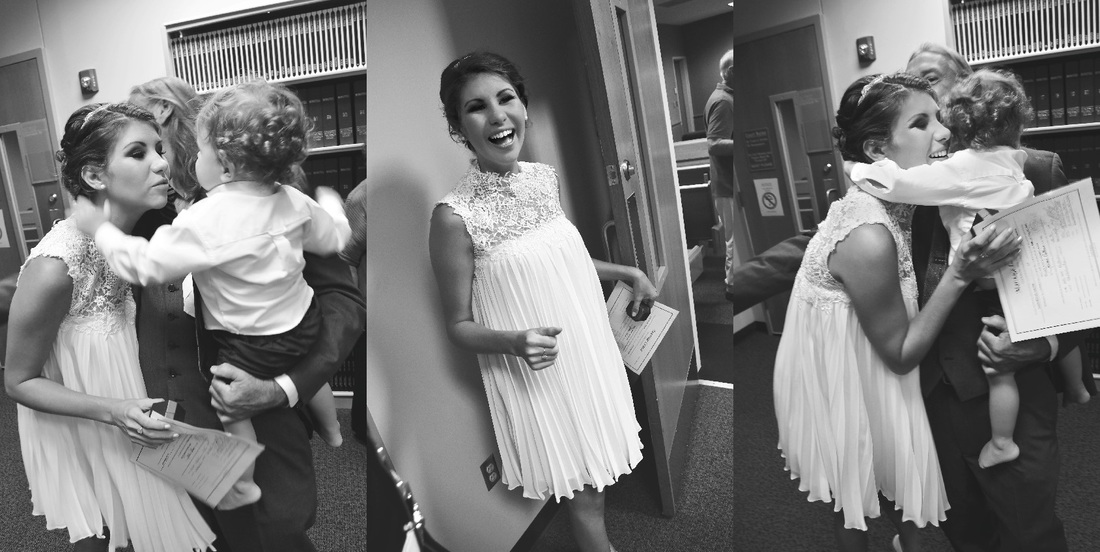 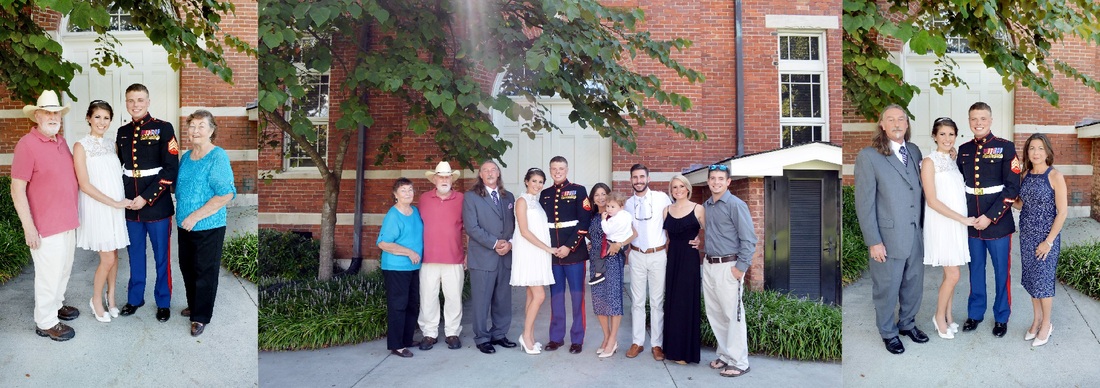 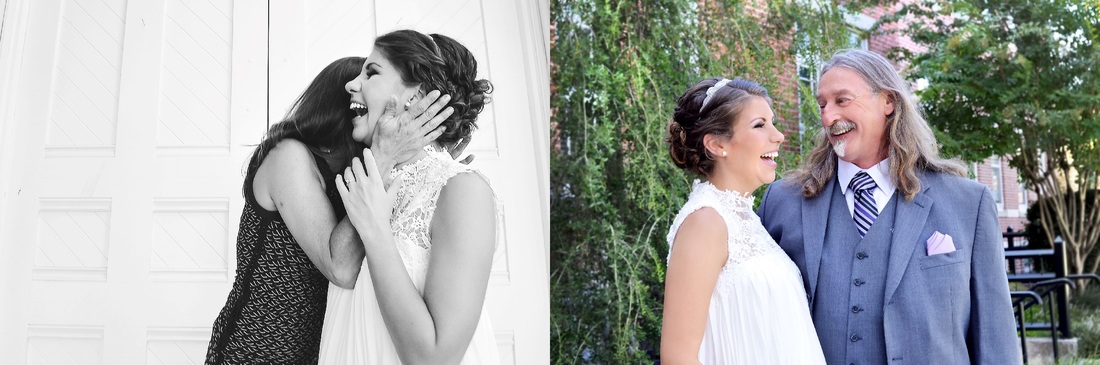 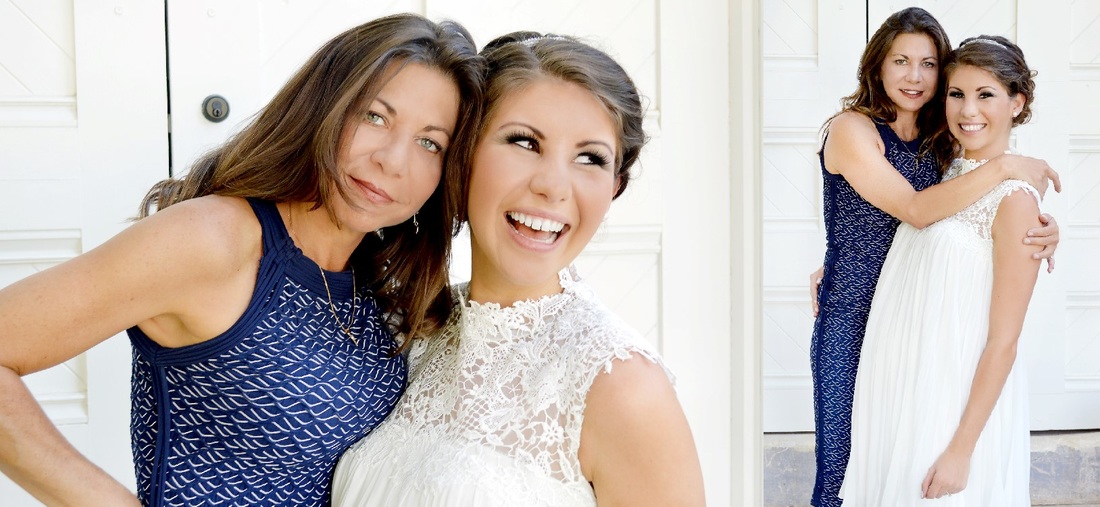 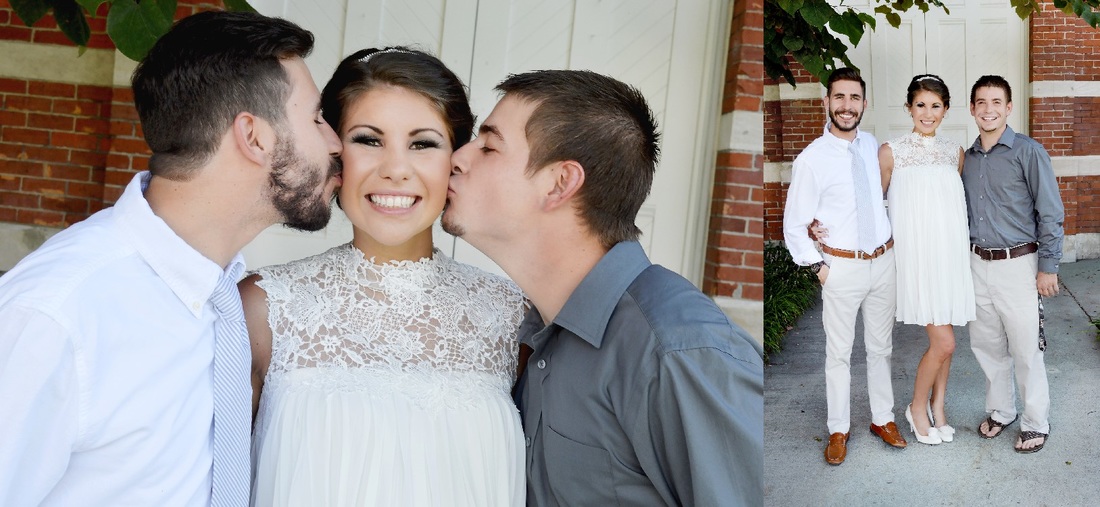 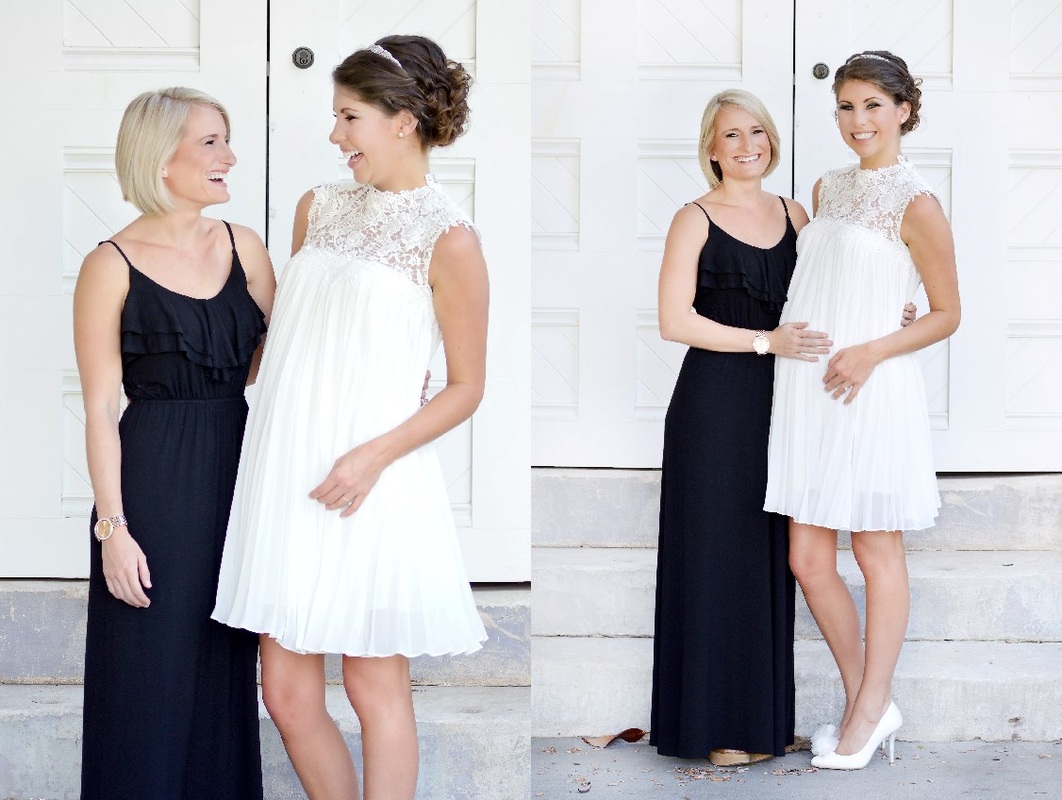 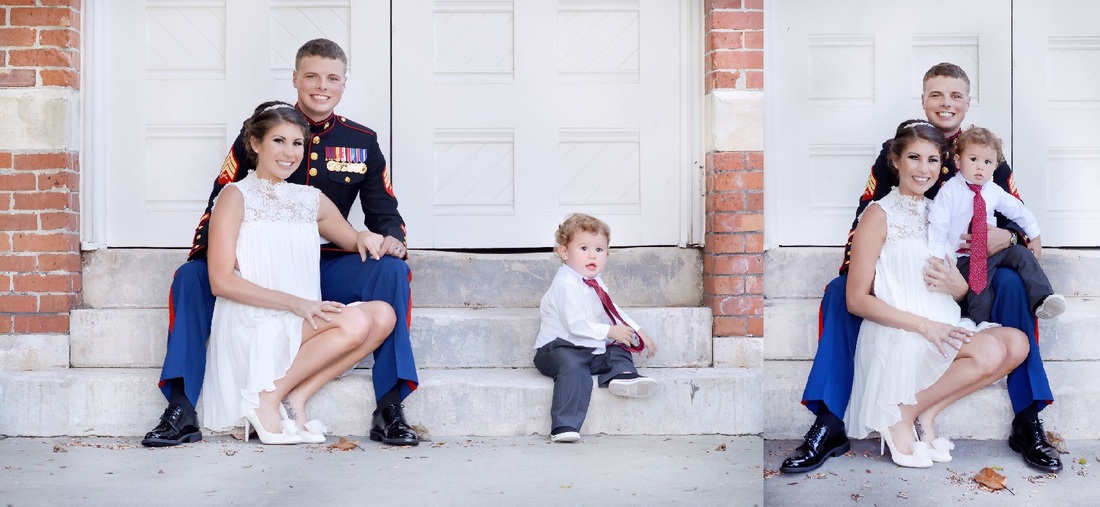 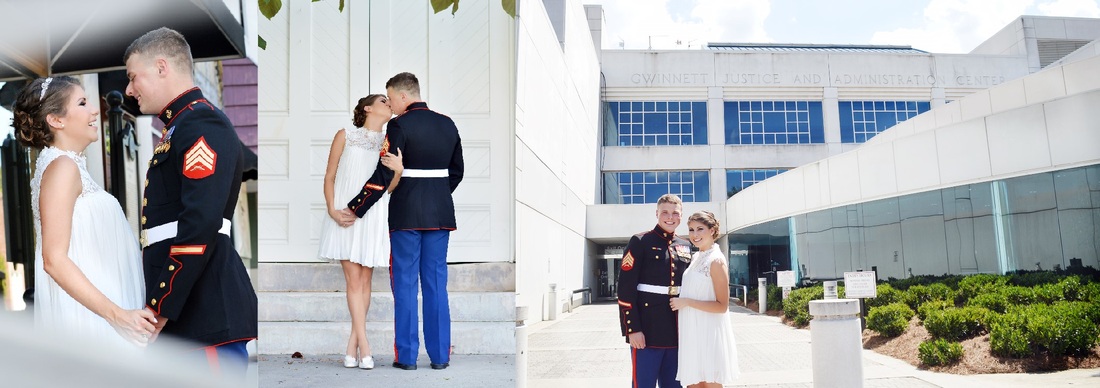 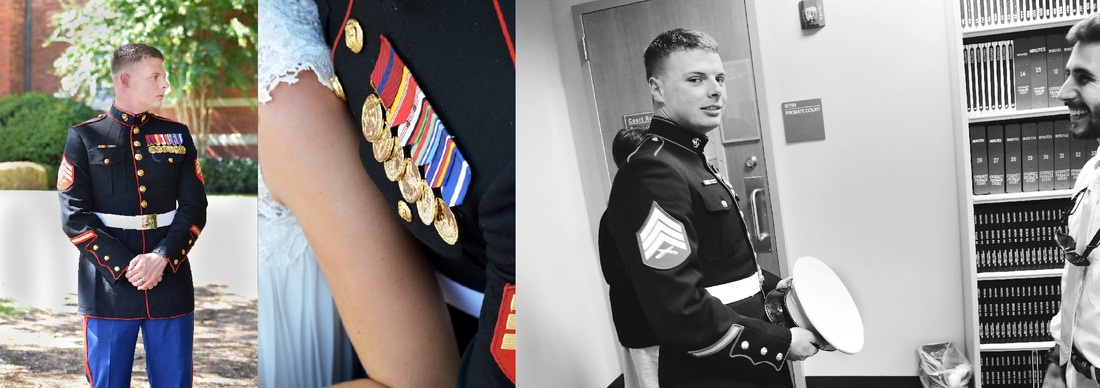 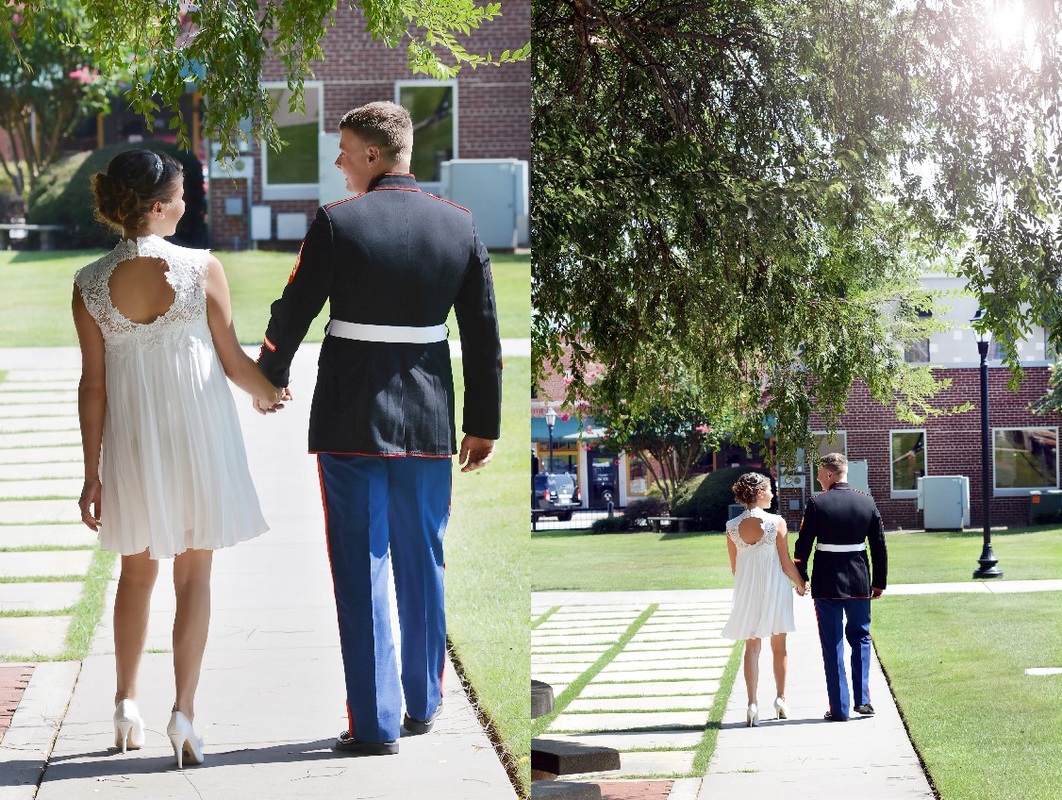     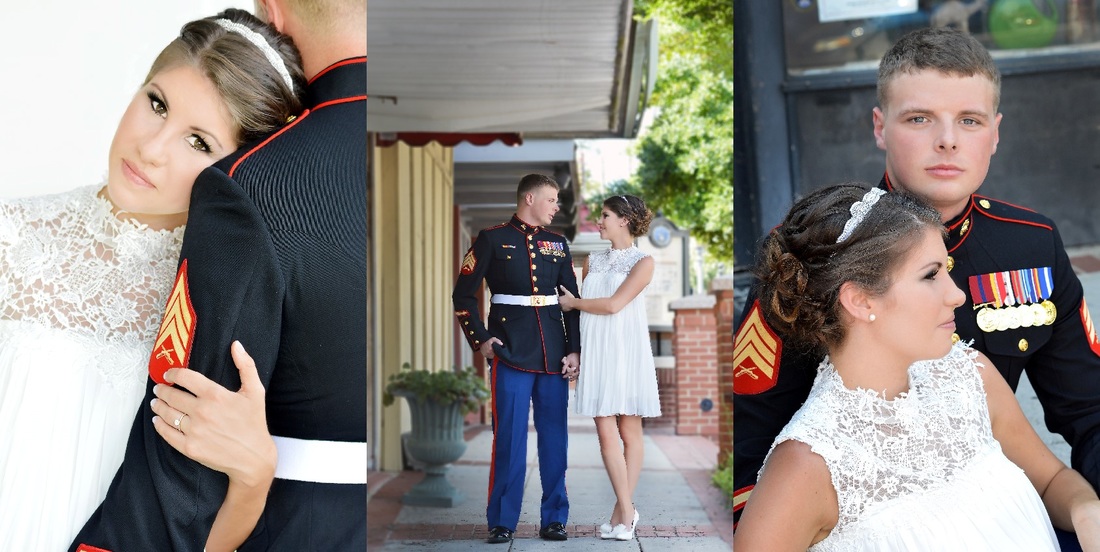 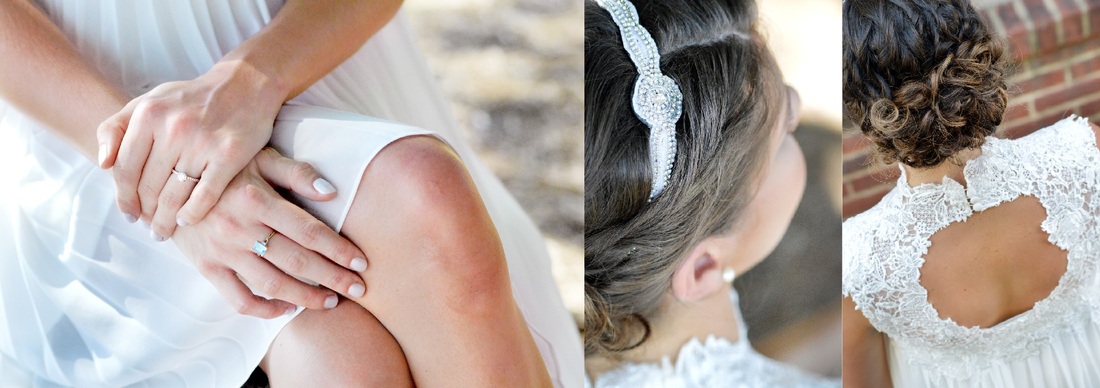 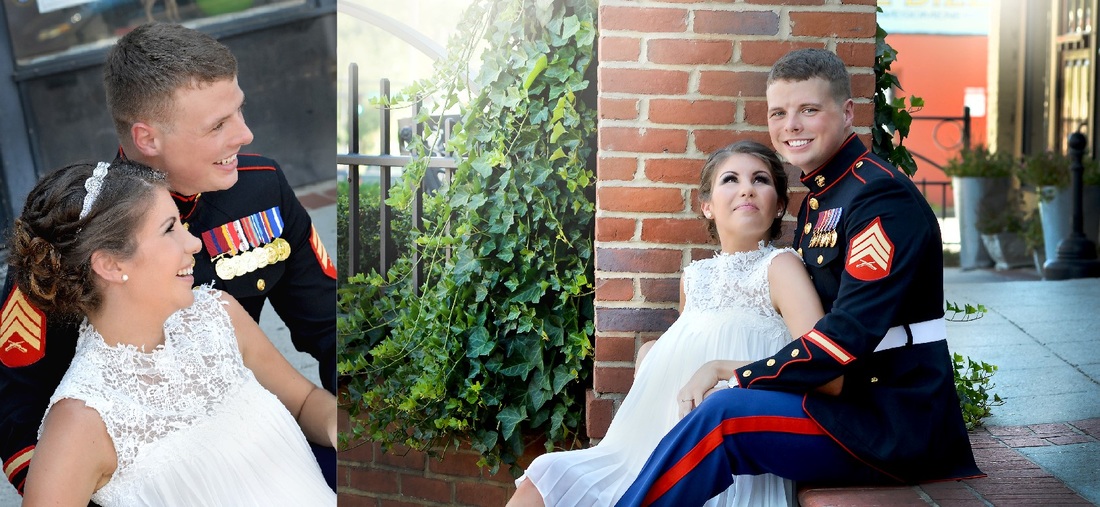 David and Sarah are one of the sweetest couples I have worked with. They are so in love and it shows all over their pictures! I met these cuties through one of my best friends whose wedding I am in this coming November, Sarah is the sister of that bride. I acted as many photographers would and jumped right on asking Sarah about her wedding photographer while we were dress shopping together. Once Sarah checked out my photography she was so excited to book her wedding and engagement with me and I couldn't have been happier to be there to capture those special memories with someone who has become a friend of mine, not just a client. David and Sarah love being outdoors and enjoy everything wooded and lake/river related. I knew the perfect location for their session would be down by the Chattahoochee River in Roswell, Ga. The sunset was so beautiful as it lit up the love between these two, I can't wait for their dreamy wooded wedding next month! 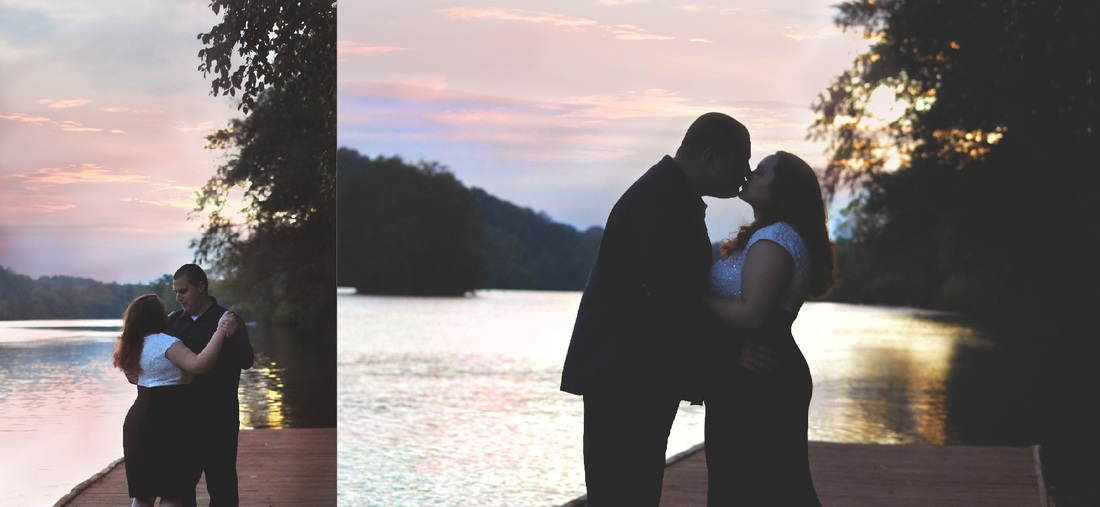 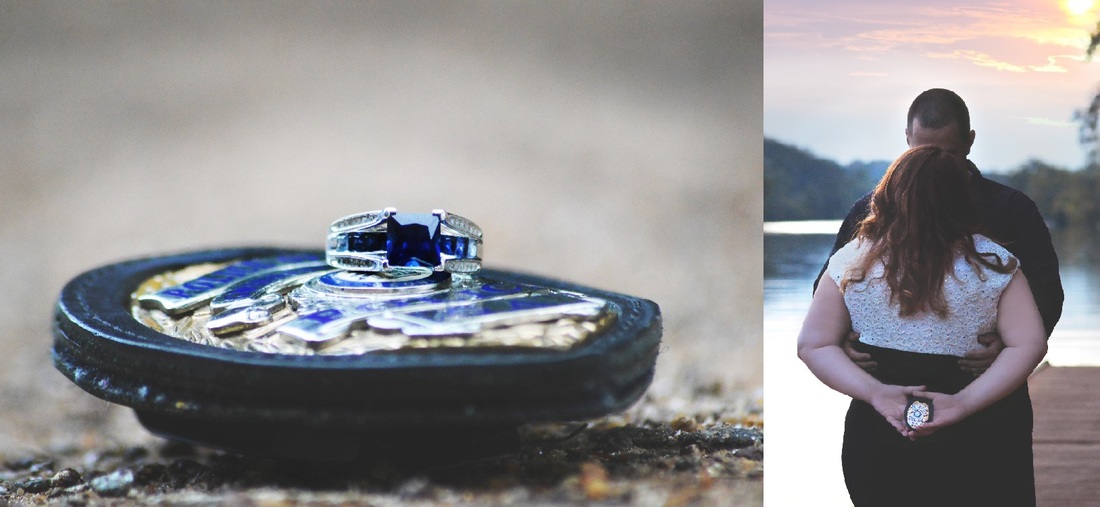 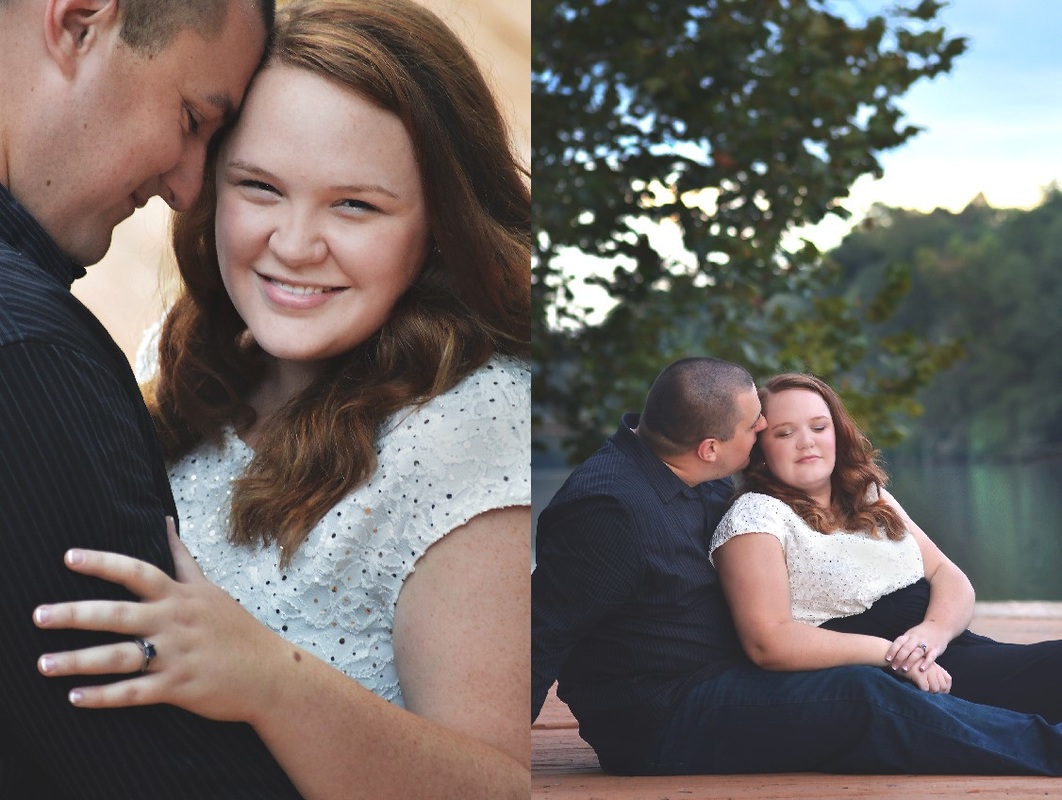 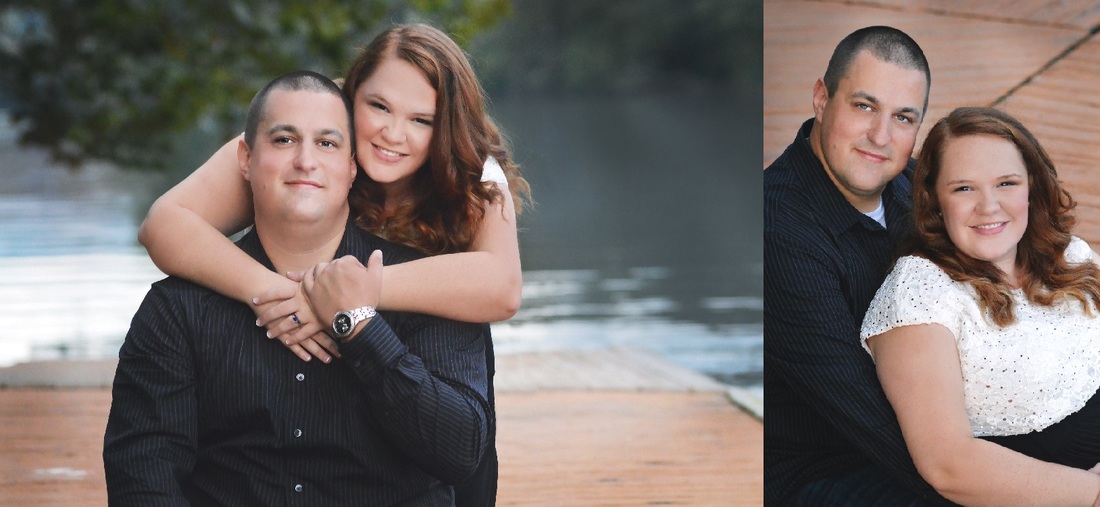 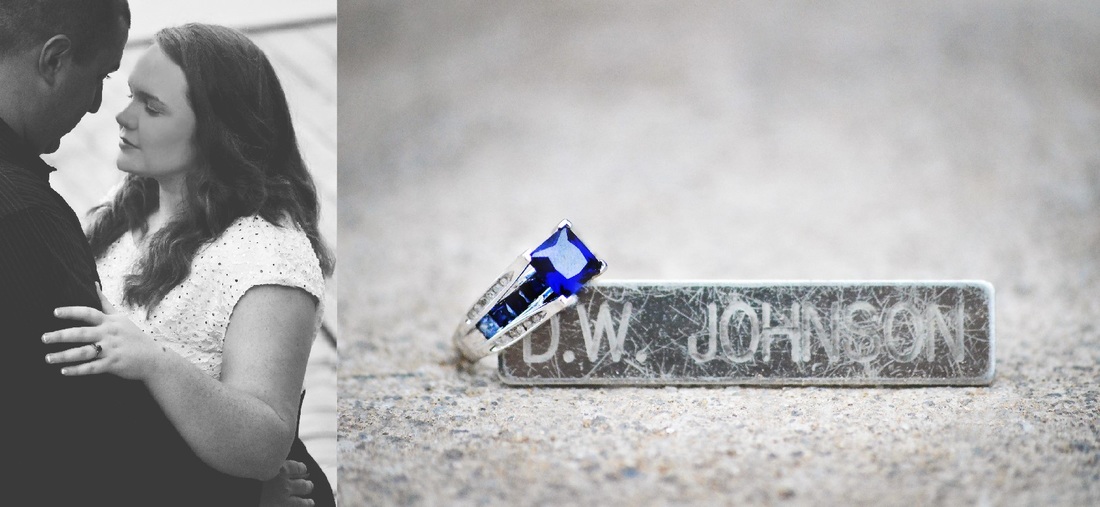 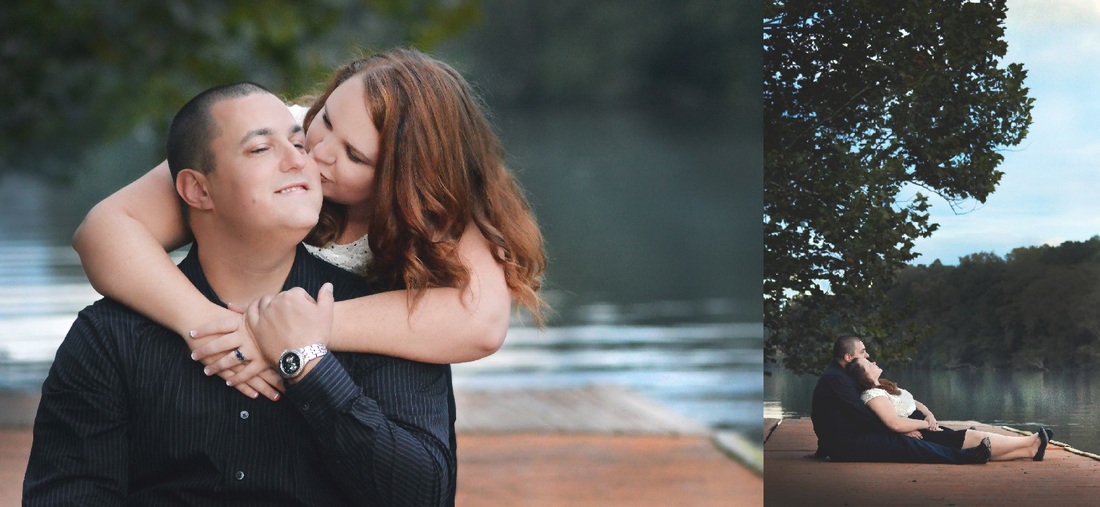 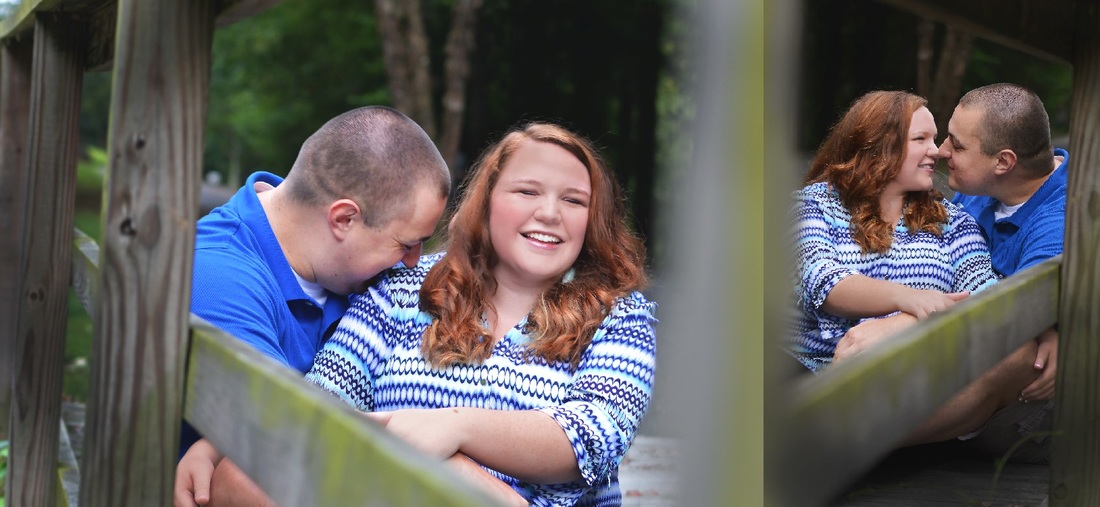 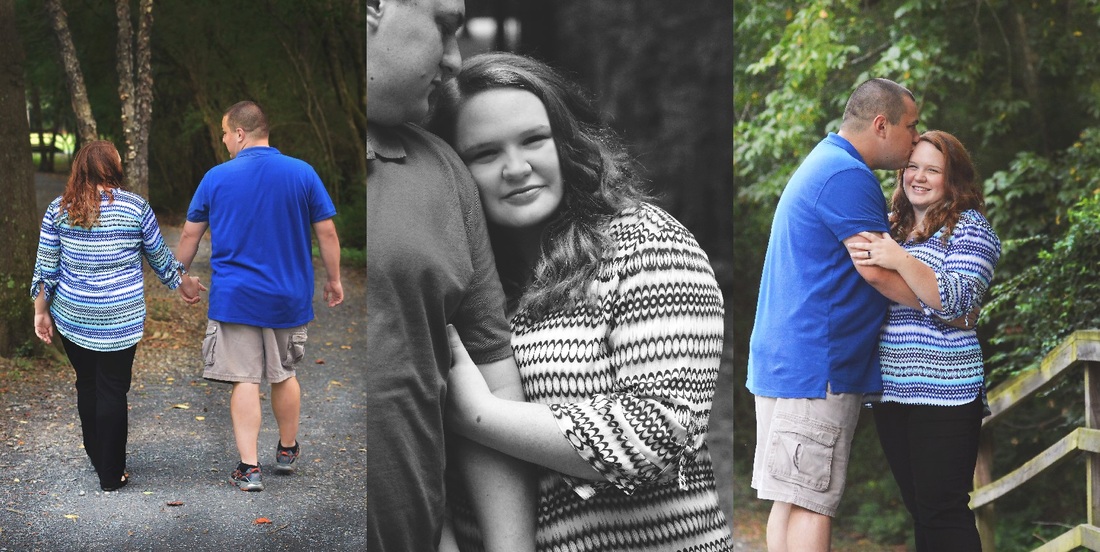 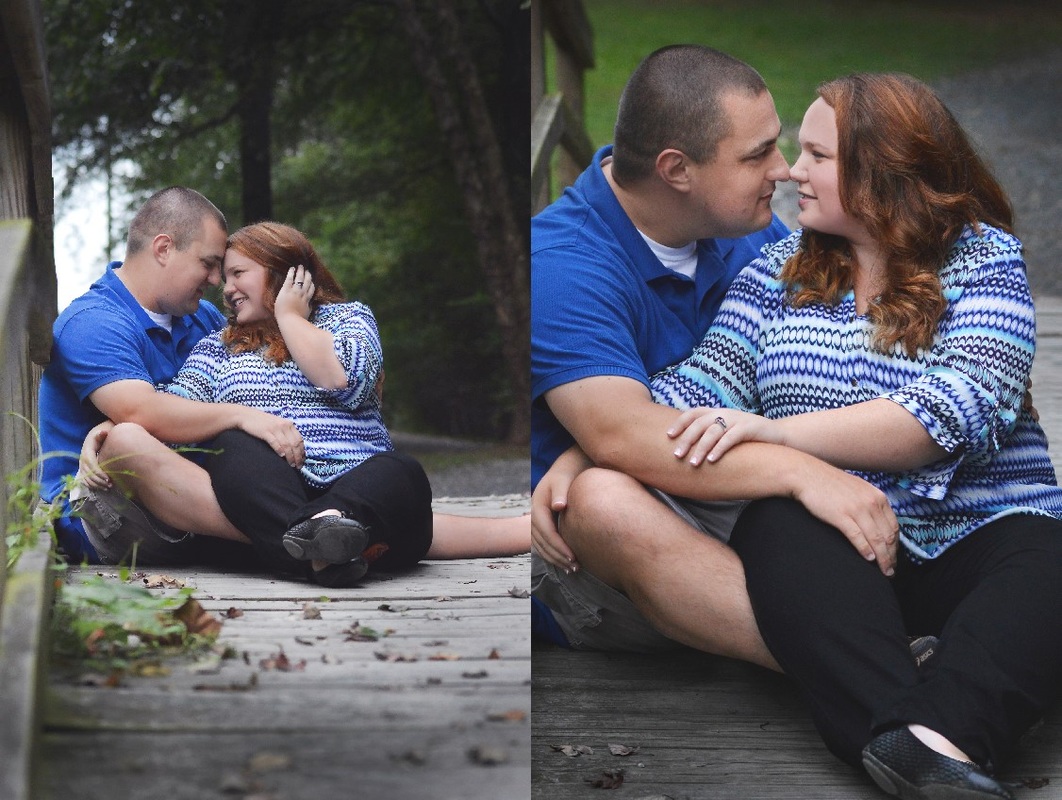  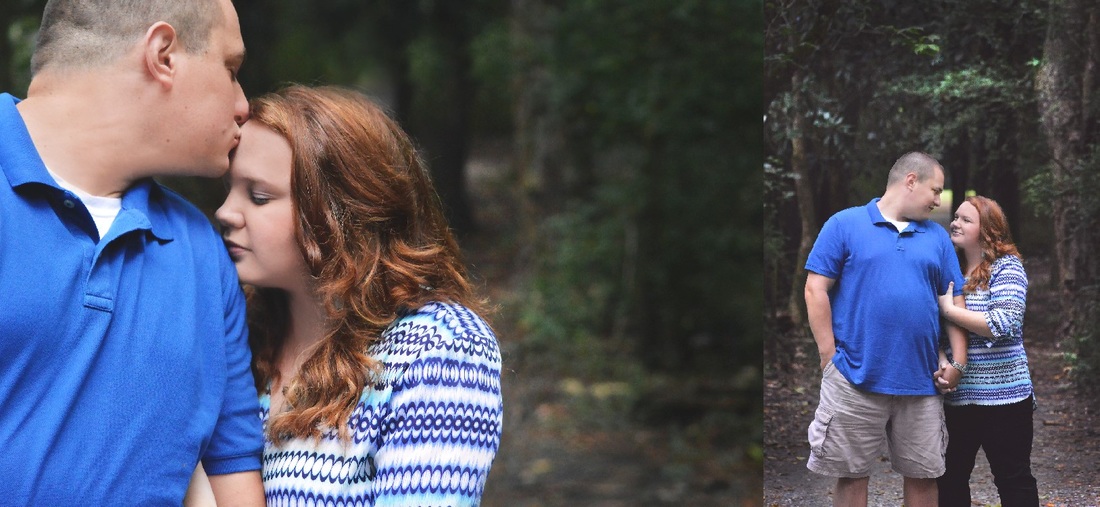 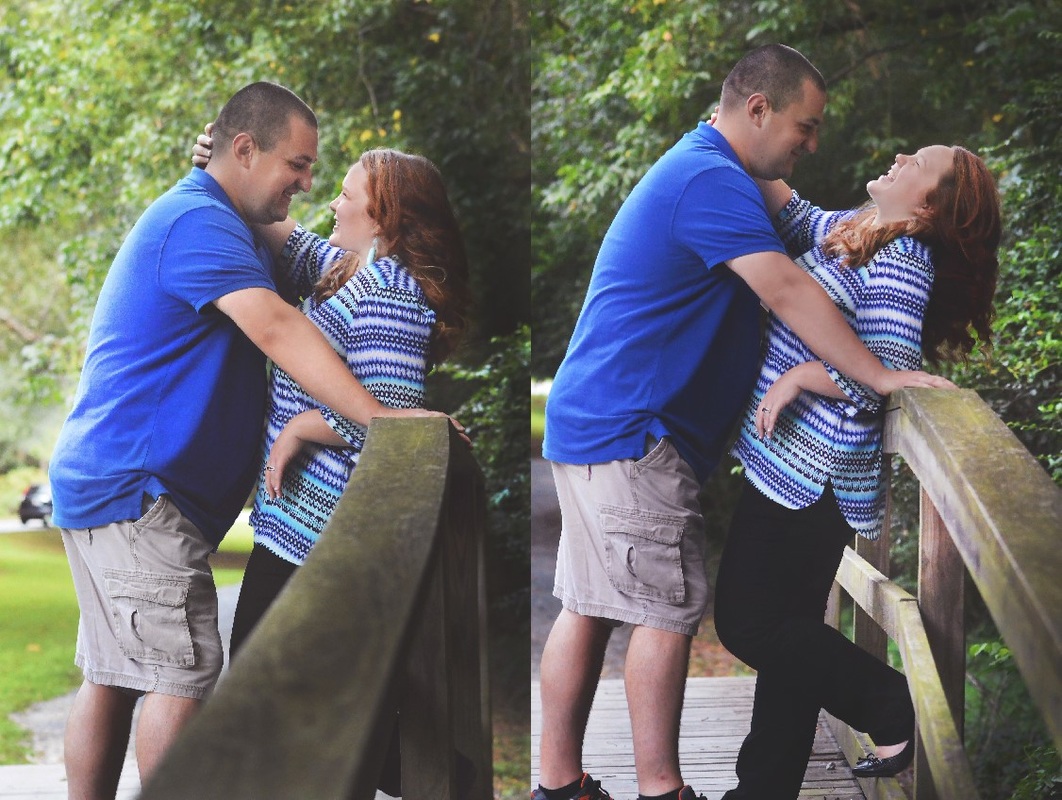 Wow! It's already been three years since I started my photography business. It has been challenging, hard work, time consuming and stressful but I wouldn't take any of it back. I started my business with an idea in my head as to what I wanted it to be but I knew I had a long road ahead of me. I knew that I needed to improve my skills, improve my equipment and I honestly knew very little about running a successful photography business, there's still plenty for me to learn too. One of the wonderful aspects of being a photographer is the technology and techniques associated with this business are constantly improving and changing which forces me out of my comfort zone on a weekly basis. It's for this reason that I have evolved so much from where I was three years ago and it blows my mind to go through my old images and see where I am at now.
Enough about me, I need to get to the real star of my success- YOU! I wouldn't have a backdrop to stand on (do you see what I did there ;)?!?!?) without my absolutely amazing clients that allow me to create the images I see in my head and encourage me to go beyond my limits. My hat goes off to you, amazing clients, keep the business coming and I will continue to put forth images that push me and wow you. Peace and love, XO |
AuthorKatie Coon Archives
January 2020
Categories
All
|
 RSS Feed
Contact MeKatie Coon
Atlanta, Georgia Passport Ready |
|