|
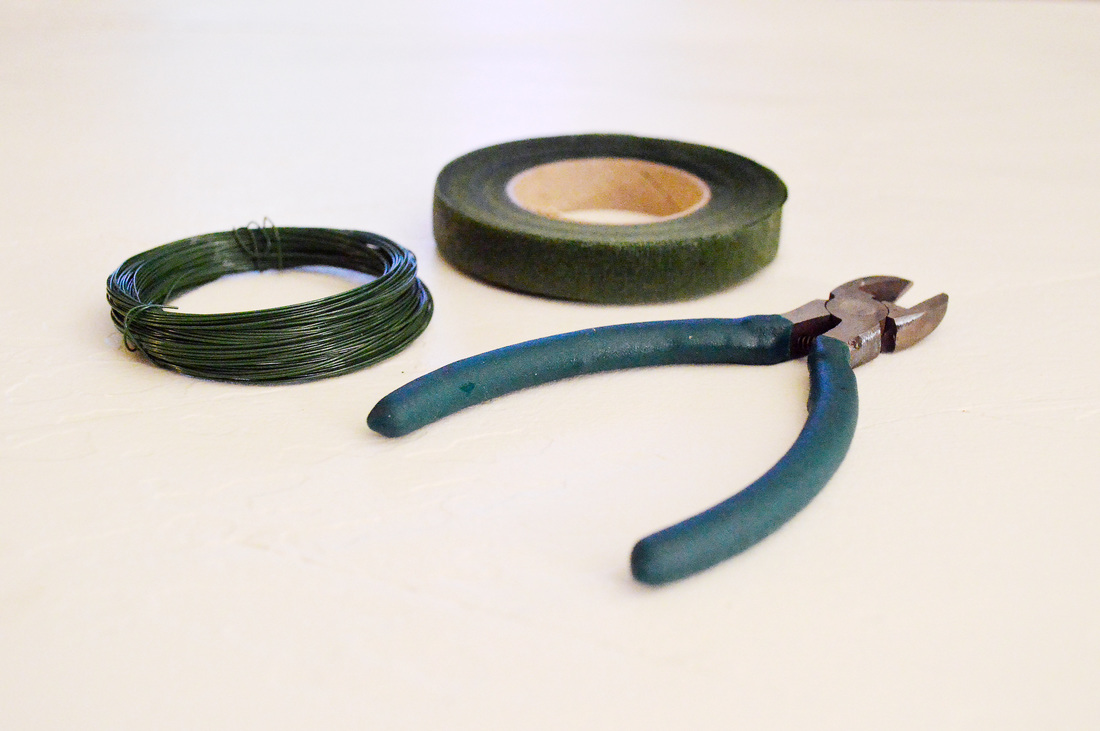
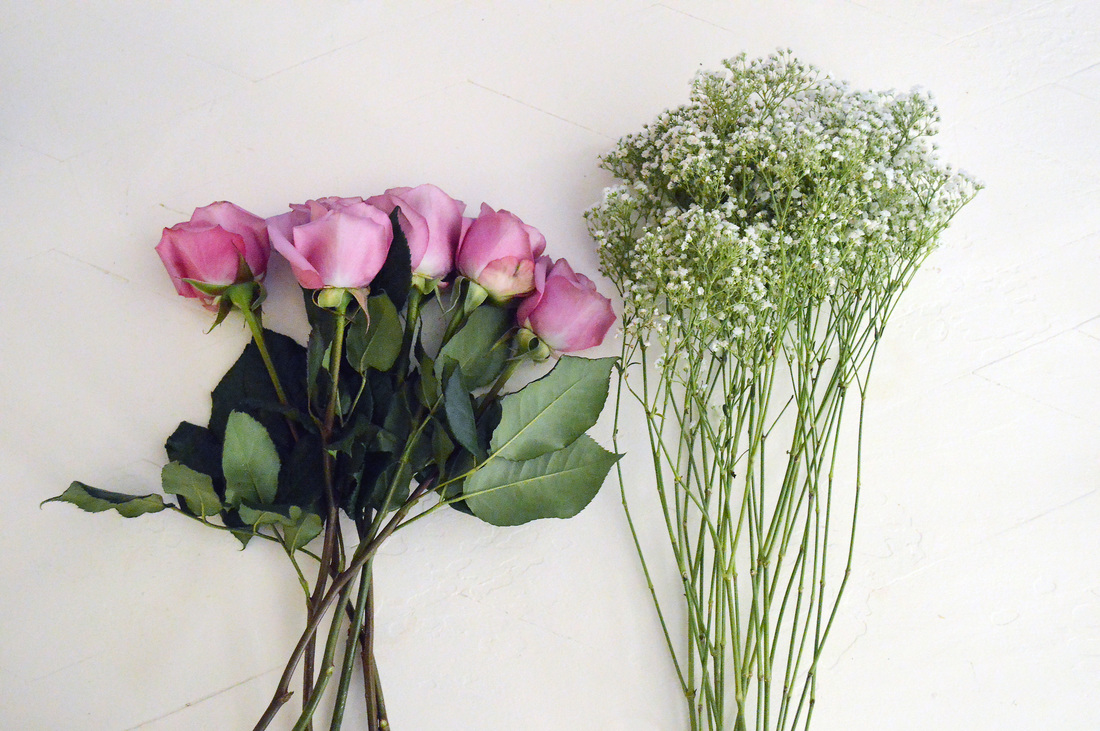
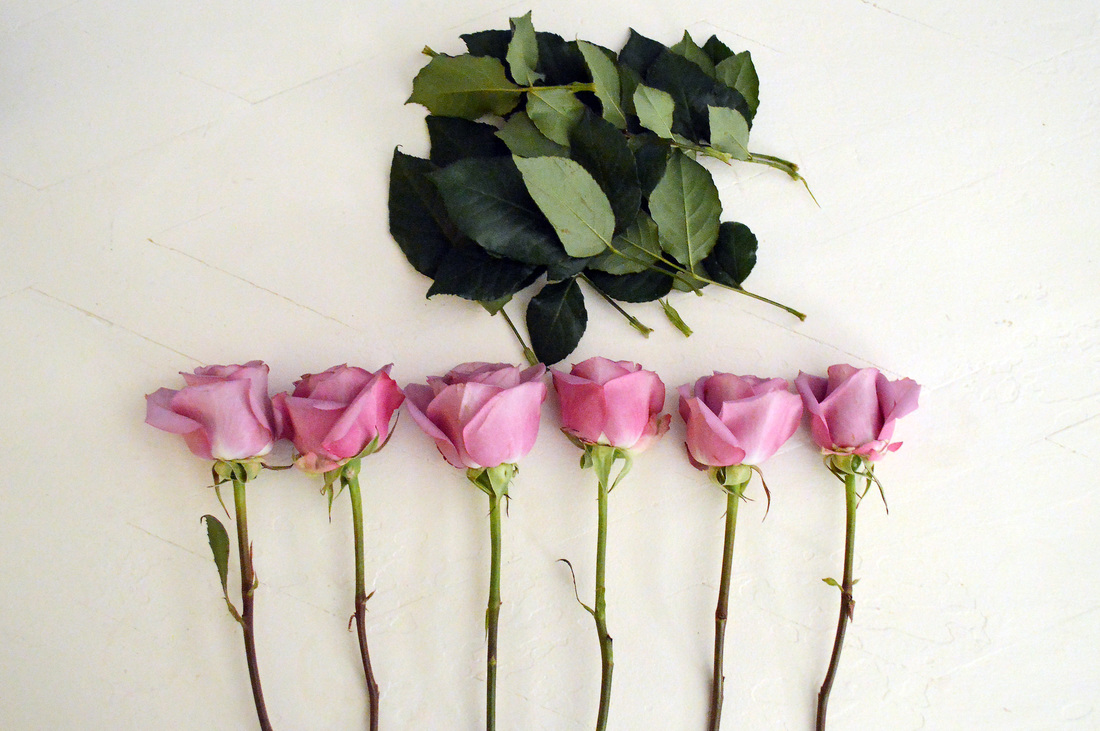
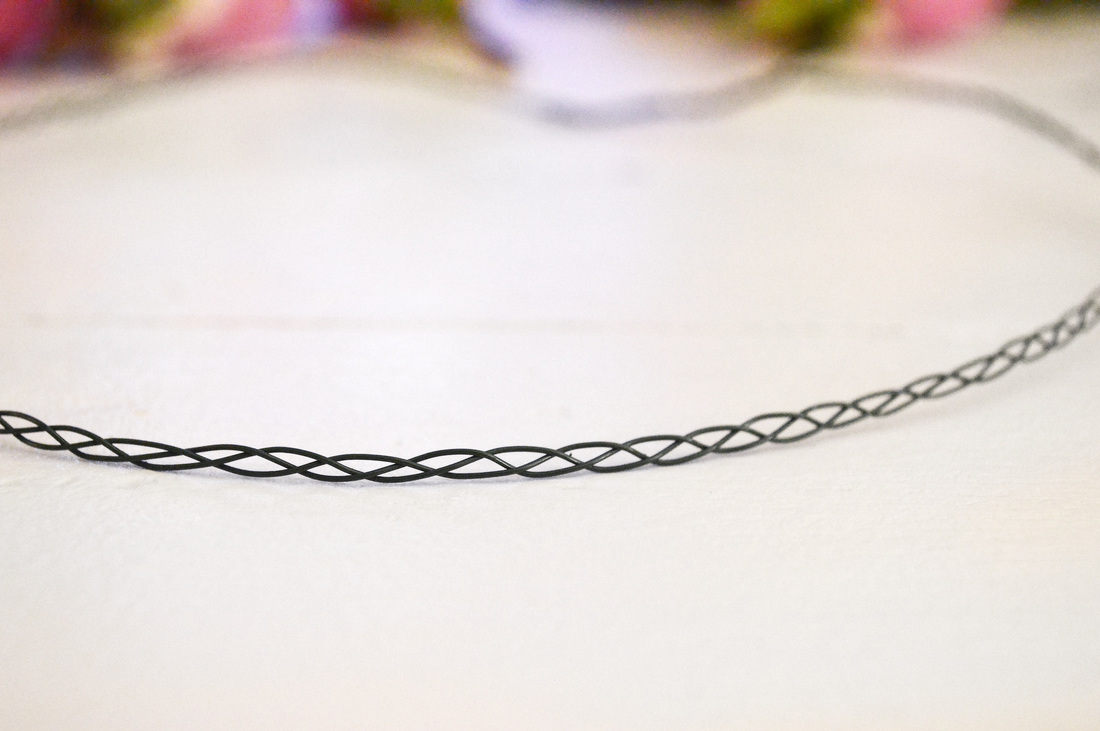
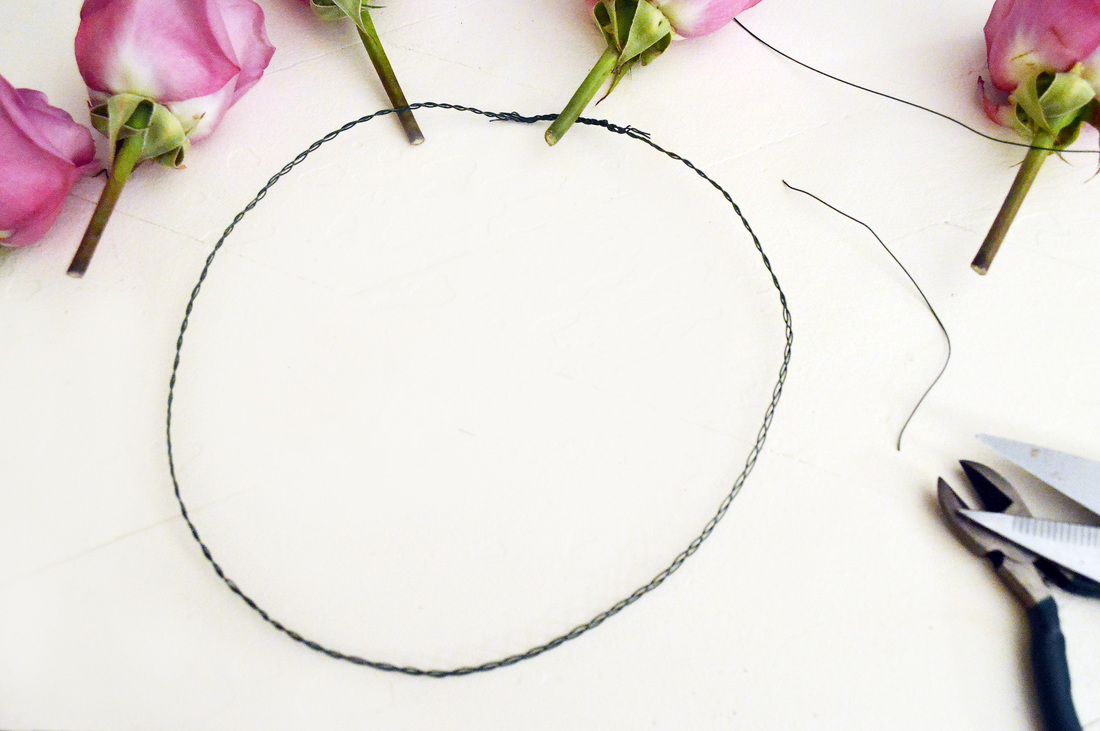
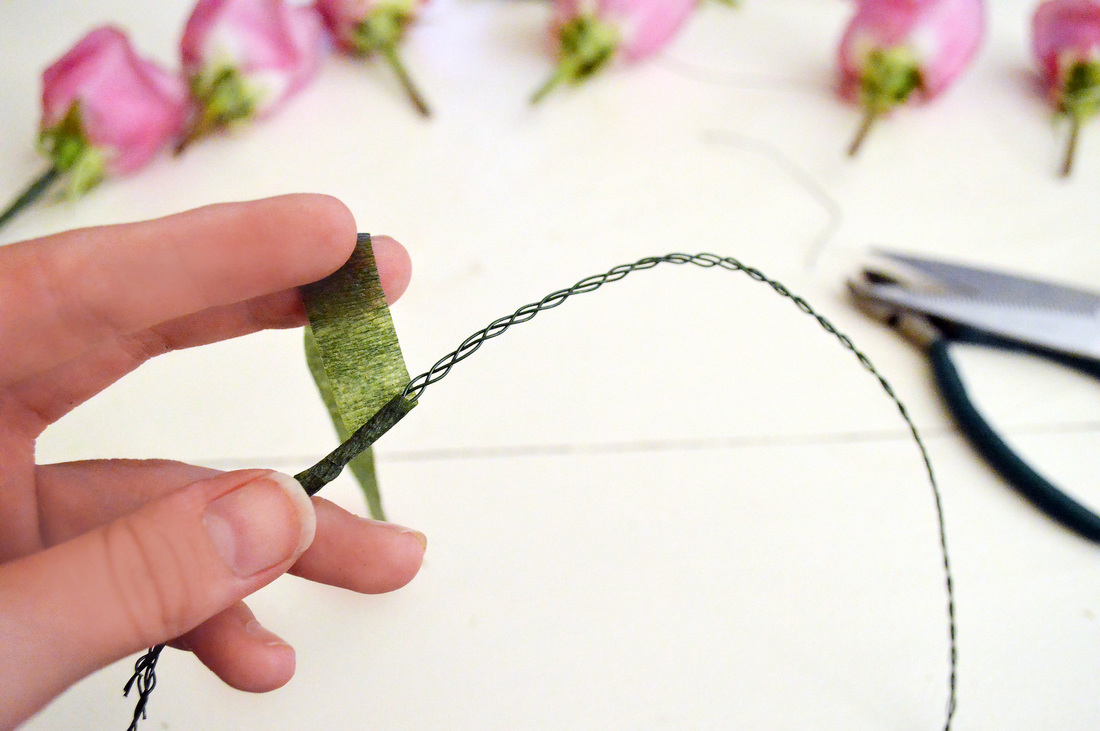
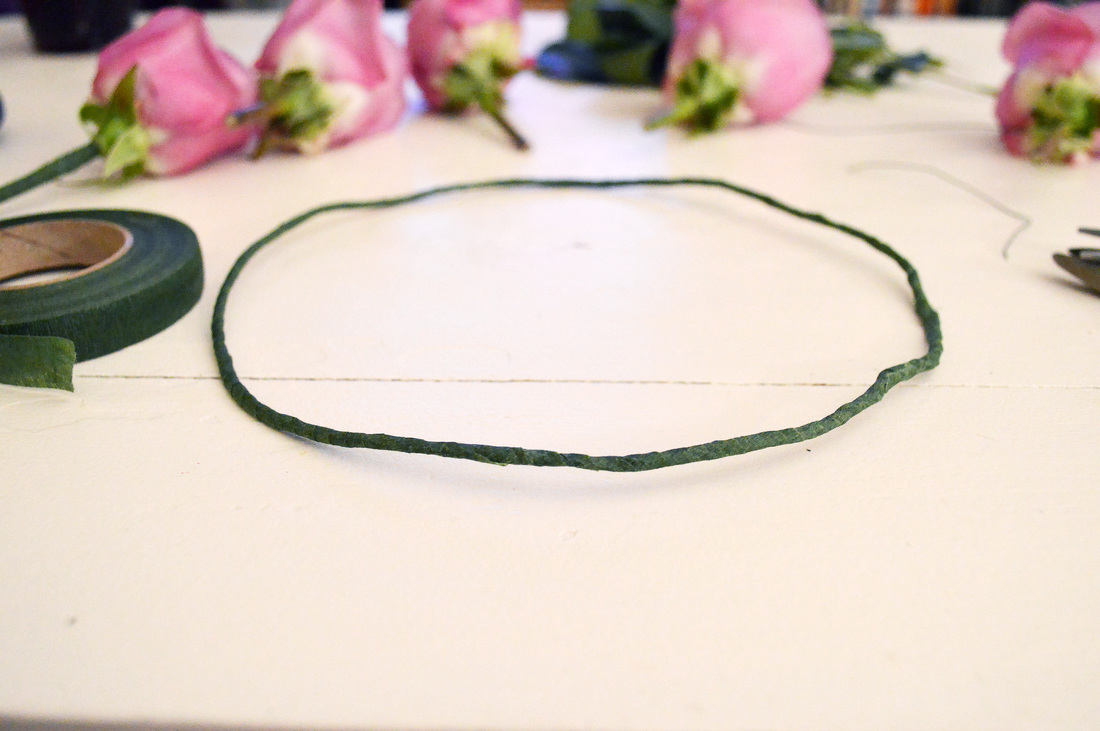
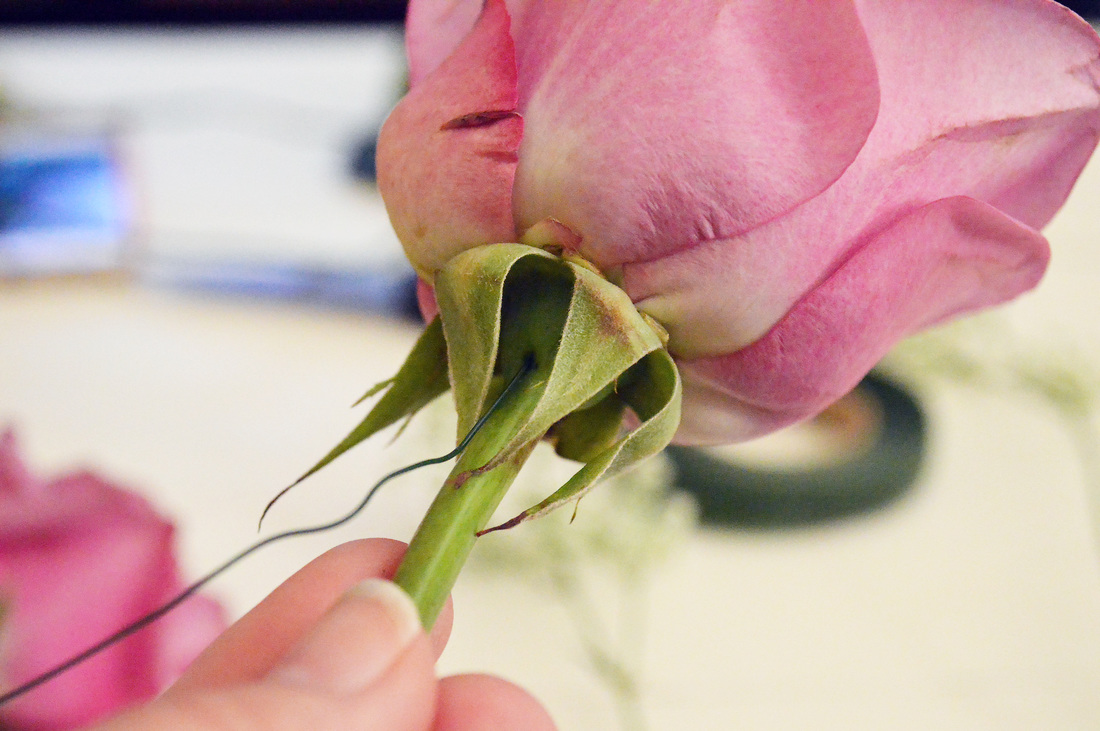
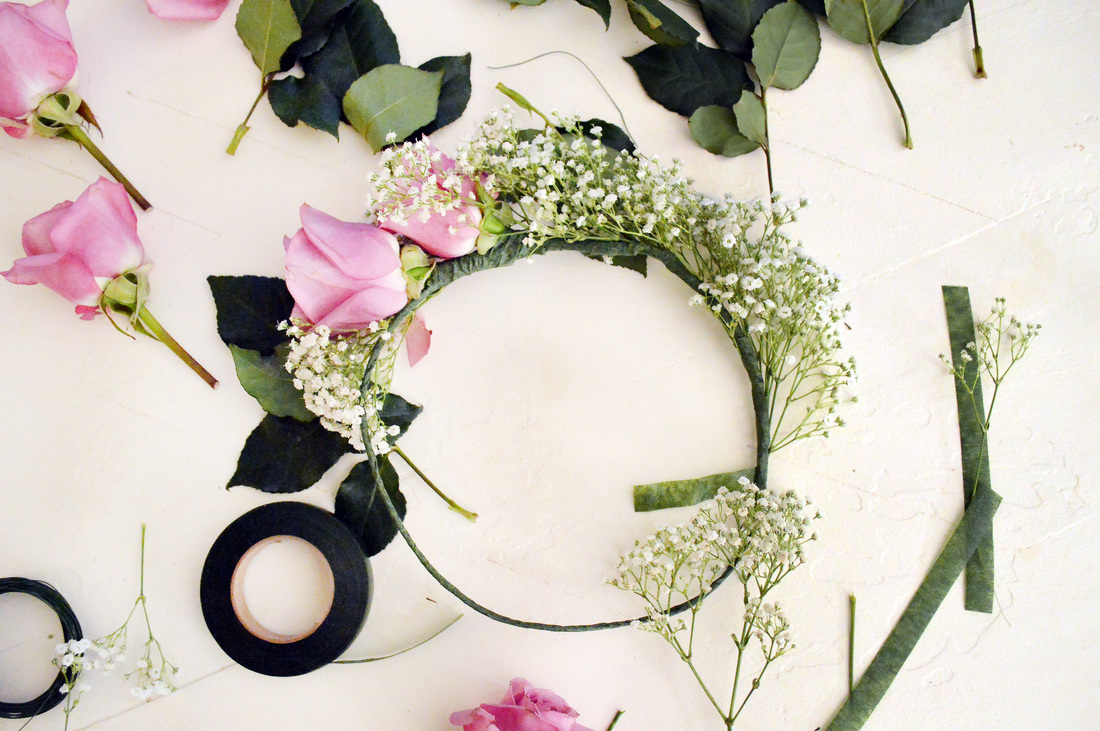
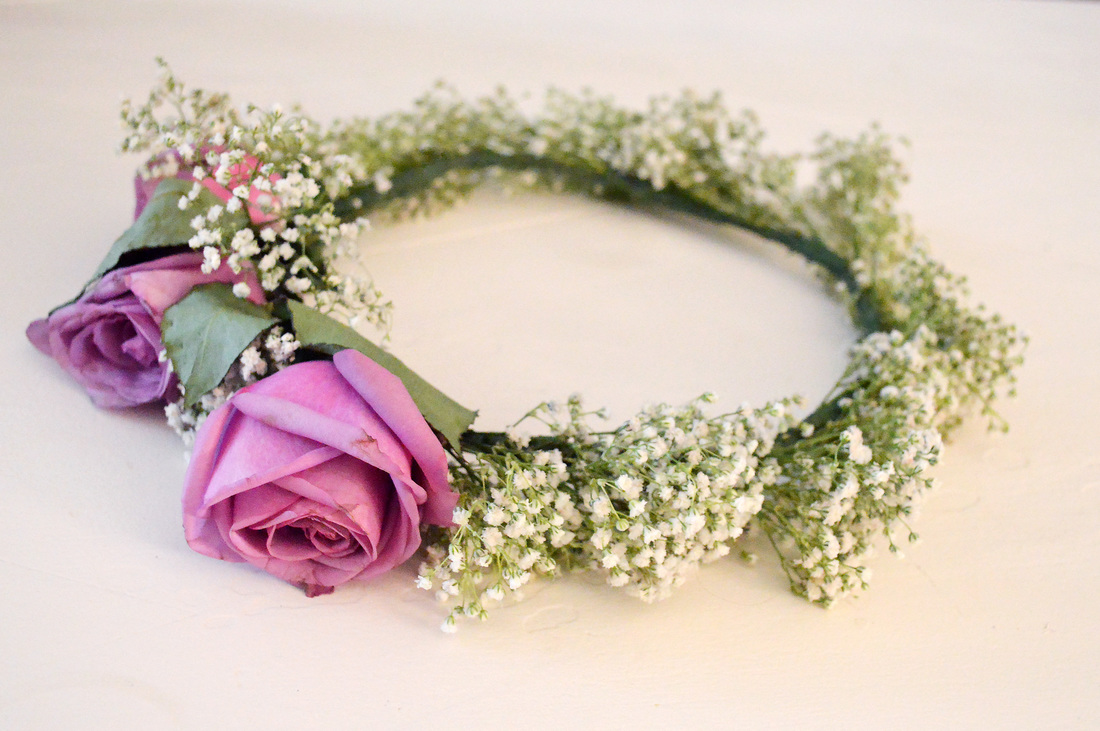
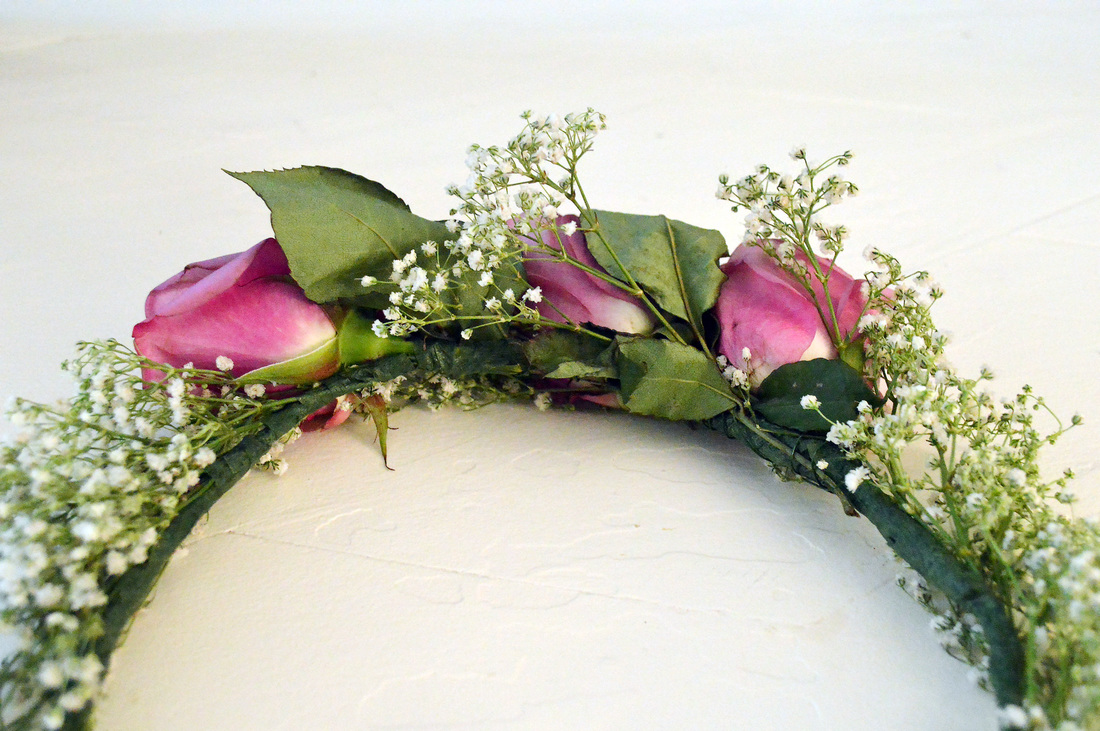
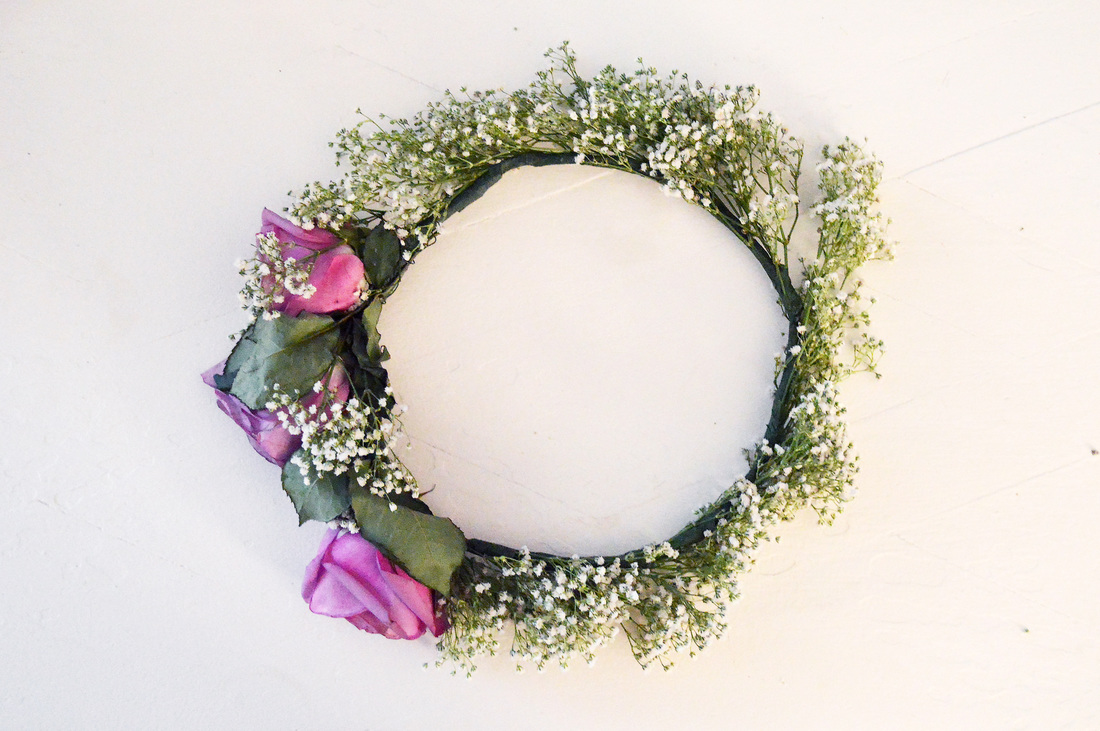
Flower crowns have been all over the photography and wedding scene for the past year and they certainly aren't going anywhere anytime soon. Flower crowns are becoming more natural looking and are including several different kinds of flowers now. I hope this trend sticks around for a while as I have just learned how to make my own! I had a photoshoot on Sunday for a wooded boudoir session and I knew exactly what I wanted for the headpiece that would wrap everything up in a nice little bow. I went on a search Saturday for the most perfect fake flowers but kept ending up disappointed. I then decided to take a huge leap of faith in myself and bought fresh flowers; I was determined to make this work. Much to my surprise it was extremely easy to make a fresh flower crown (a bit tedious but easy)! Don't mind the bad picture quality but I took these at 11pm the night before the shoot because I totally needed to document this process so all of you could do this at home! Follow the directions below and you will have a winning flower crown in no time! Materials needed: - Floral wire ($1 @ Dollar store) - Floral Tape ($1 @ Dollar store) - Wire cutters ($1 @ Dollar store) - Fresh flowers ($8 @ Publix or your newest grocery store) Step 1: Gather your fresh flowers. I bought these two bouquets at Publix for $4 each. Cut a few inches off the ends of the flowers, just enough so they sit nicely in a vase with water to keep them fresh while you are working with them. Step 2: Remove the leaves from the stems of the flowers. Step 3: Cut 3 pieces of floral wire a few inches larger than your head or clients head circumference. This will give you enough length to braid the 3 wires together. I used floral wire that wasn't very thick because I wanted to keep my cost down so I braided 3 wires together to make it stronger. You could also twist them together because you will be taping them together anyways as you will see in the next step. I secured the ends together by wrapping the ends together. Step 4: Take the floral tape and start wrapping all the way around the wire until you reach the other end. Step 5: To keep heavy flowers together and not breaking off from the stem I pulled wire through the base of the rose. You will puncture the base of the flower and work it in until you can see it come out of the top of the flower. Bend the wire to make a hook and pull back through until its tight. Wrap the excess wire around the stem and tape with floral tape. Step 6: This is the fun part, this is where your creative juices start flowing and your vision can come to life! I started with a bundle of babies breath (on the far left of the crown in the picture below and started adding to the crown from that point. To attach the flowers to the crown you will place the flower stem even with the crown wire and tape the stem to the crown. For the larger and heavier flowers like the roses, I used the floral wire to attach them before taping it; this will give the flower more support. Step 7: Enjoy your flower crown to its fullest extent! The below image was from after it sat in the hot car all day after the photo shoot that we used it for, but I will post a few images from the shoot in a later blog post. Check back for more DIY props for your photo sessions!
6 Comments
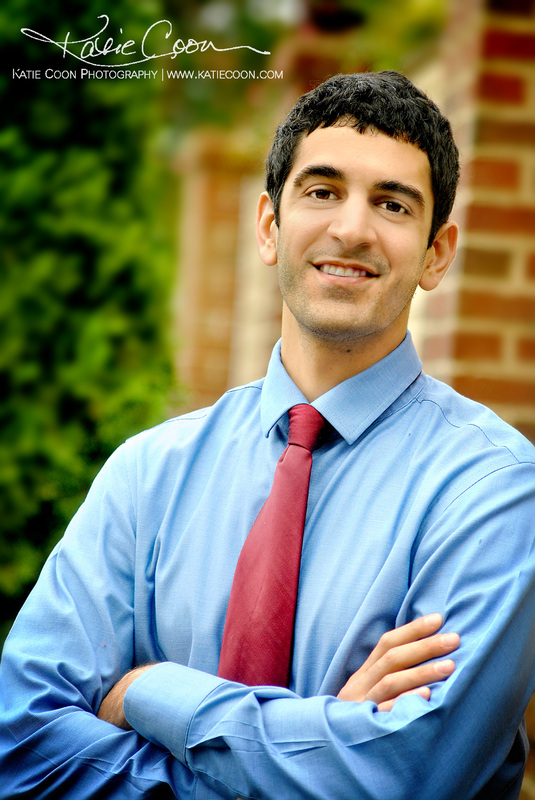
Headshots are always good to have around, whether you're a student, lawyer, actress or superstar extraordinaire. There will one day come a time when you wish you had a professional picture of yourself vs. a selfie on your smartphone. Headshots work just like any other session, the lighting needs to be just right, clear forecast and clean, crisp clothes.
I was asked last minute to shoot an event on Saturday morning for a brunch and bike ride that was happening in Dunwoody. For my non-Atlantans reading, it was storming big time and raining cats and dogs outside which does not make for ideal shooting. I worked through the rain but at the end was asked to take a few headshots of a new employee {of the company I was shooting for}. Of course, I was going to do this but I had to find a good place to shoot so last minute. Here are my tips for shooting last minute in overcast: - Find as much sun light as possible and if no sunlight is available then avoid shaded areas - Find a solid background to place your subject against or move them away from a busy background and shoot with a long range lens to allow for the background to drop out of focus (we shot behind the restaurant by the dumpster and the side of the restaurant in the bushes) - Turn your subject to about a 45 degree angle, very few people are fantastic from the front and I did not want a profile shot - I had my subject kneel down so I was shooting slightly down at him since he was taller than me which disguised anything messy in the background that I wanted to hide Once I had the right pictures that I wanted we wrapped it up and the new client was very pleased. If you would like to book your headshots today please email [email protected] and we can discuss pricing and scheduling. I look forward to hearing from you soon! |
AuthorKatie Coon Archives
January 2020
Categories
All
|
Contact MeKatie Coon
Atlanta, Georgia Passport Ready |


 RSS Feed
